
If you’re experiencing problems with your washing machine’s drum, such as excessive noise or unusual vibrating, it may be time to remove the drum for inspection or repairs. While it may seem like a daunting task, removing the drum from a washing machine can be done with a few simple steps.
Step 1: Preparation
Before you begin, make sure to disconnect the washing machine from the power source and turn off the water supply. It’s also a good idea to empty the machine completely and remove any clothes or belongings.
Step 2: Accessing the Drum
To access the drum, you will usually need to remove the top and back panels of the washing machine. Consult your machine’s user manual or search online for specific instructions on how to remove these panels for your particular brand and model.
Step 3: Disconnecting Components
Once you have access to the drum, you will need to disconnect any components that are attached to it. This may include the drive belt, motor, and any electrical connections. Be sure to carefully label or document the connections to make reassembly easier.
Step 4: Removing the Drum
With all the components disconnected, you can now remove the drum from the washing machine. This may require loosening screws or bolts that hold the drum in place. Gently lift the drum out, being mindful of any wires or hoses.
Step 5: Inspection and Repair
Once the drum is removed, you can inspect it for any signs of damage or wear. This is also a good time to clean any accumulated debris or lint. If necessary, you can now proceed with repairs or replacement of any faulty components.
Remember to consult the user manual or seek professional assistance if you’re unsure about any step of the process. Taking the time to properly remove the drum from your washing machine can help resolve any issues and ensure its optimal performance.
- Preparation and Safety Measures
- Disassembling the Washing Machine
- Removing the Drum
- Step 1: Disconnect the power
- Step 2: Remove the outer panel
- Step 3: Disconnect the drum assembly
- Step 4: Inspect and clean the drum
- Reassembling the Washing Machine
- 1. Clean the Drum
- 2. Reattach the Drum
- 3. Tighten the Drum Bolts
- 4. Reconnect the Electrical and Water Connections
- 5. Test the Washing Machine
- Video on the topic
- How to remove a drum from a top loader washing machine – step by step
- Removing a washing machine wash plate the easy way. DIY that anyone can do. Maytag Bravos Agitator
- How to remove an LG washing machine pulsator #appliances
- Answers to frequently asked questions
Preparation and Safety Measures

Before attempting to remove the drum from your washing machine, it is important to take some necessary precautions to ensure your safety and prevent any damage. Here are the steps to follow:
- Disconnect the washing machine from the power supply. This will prevent any accidental starts or electrical hazards.
- Turn off the water supply to the washing machine. You can usually find a valve located near the water pipes or behind the machine.
- Ensure that the washing machine is empty and free from any clothing or other objects. This will make it easier to access and remove the drum.
- Prepare a clean and spacious work area where you can safely disassemble the washing machine. It should be well-lit and have enough space to place the removed parts.
- Wear protective gloves and safety goggles to protect your hands and eyes from any potential injuries or particles that may be released during the process.
- Consult the user manual or manufacturer’s instructions for your specific washing machine model. These documents will provide valuable information on how to safely remove the drum.
By following these preparation and safety measures, you can confidently proceed with removing the drum from your washing machine, ensuring a smooth and hassle-free process.
Disassembling the Washing Machine
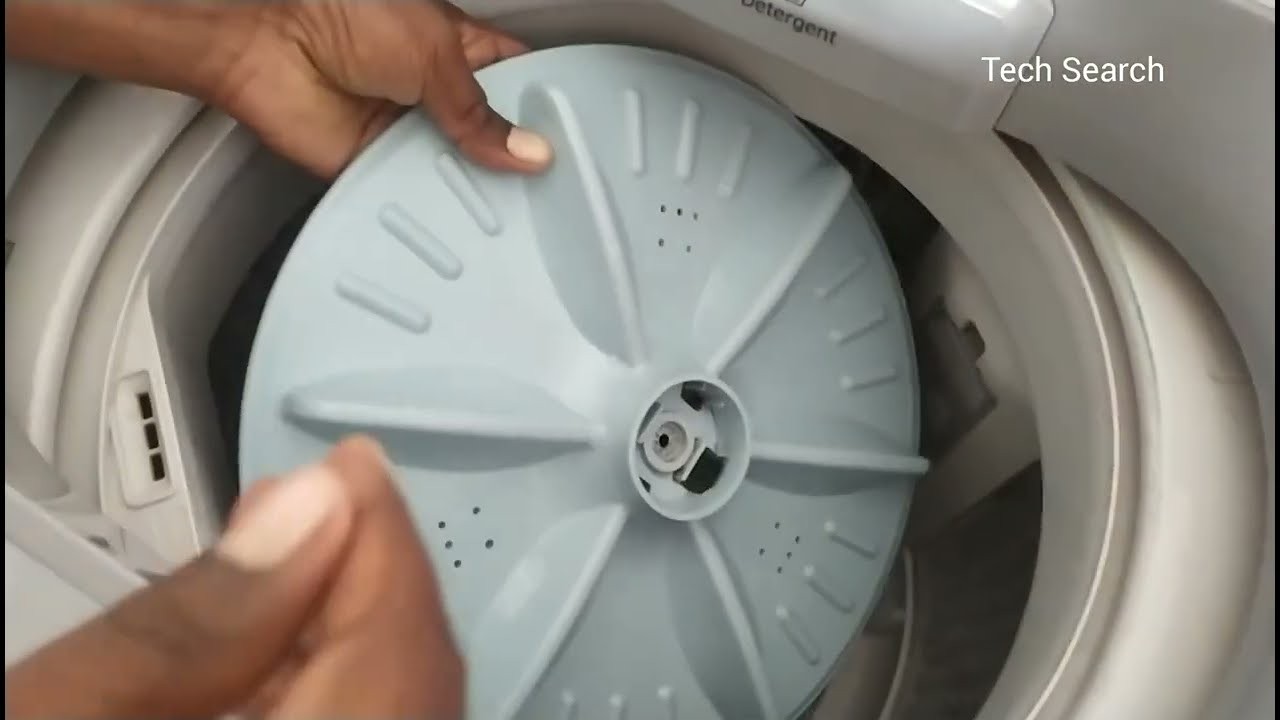
Before removing the drum from your washing machine, you will need to disassemble the machine to access the necessary parts. Follow these steps to disassemble your washing machine:
| Step | Description |
| 1 | Unplug the washing machine from the power source to ensure safety. |
| 2 | Turn off the water supply to the washing machine by closing the water valves. |
| 3 | Remove any outer casing or panels covering the internal components of the machine. This may require the use of a screwdriver or other tools. |
| 4 | Locate the drum assembly. Depending on the model of your machine, this may be easily accessible or require further disassembly. |
| 5 | Refer to the user manual or technical specifications of your washing machine for specific instructions on how to access the drum assembly. |
| 6 | Once you have successfully accessed the drum assembly, you can proceed to remove it following the steps outlined in our guide. |
Remember to consult the user manual of your washing machine for any specific instructions or precautions related to disassembling your particular model. If you are unsure or uncomfortable performing these tasks yourself, it is recommended to contact a professional technician for assistance.
Removing the Drum
Before you begin, make sure you have the necessary tools and equipment to safely remove the drum from your washing machine. This may include a basic set of hand tools, such as screwdrivers and pliers, as well as protective gloves.
Step 1: Disconnect the power
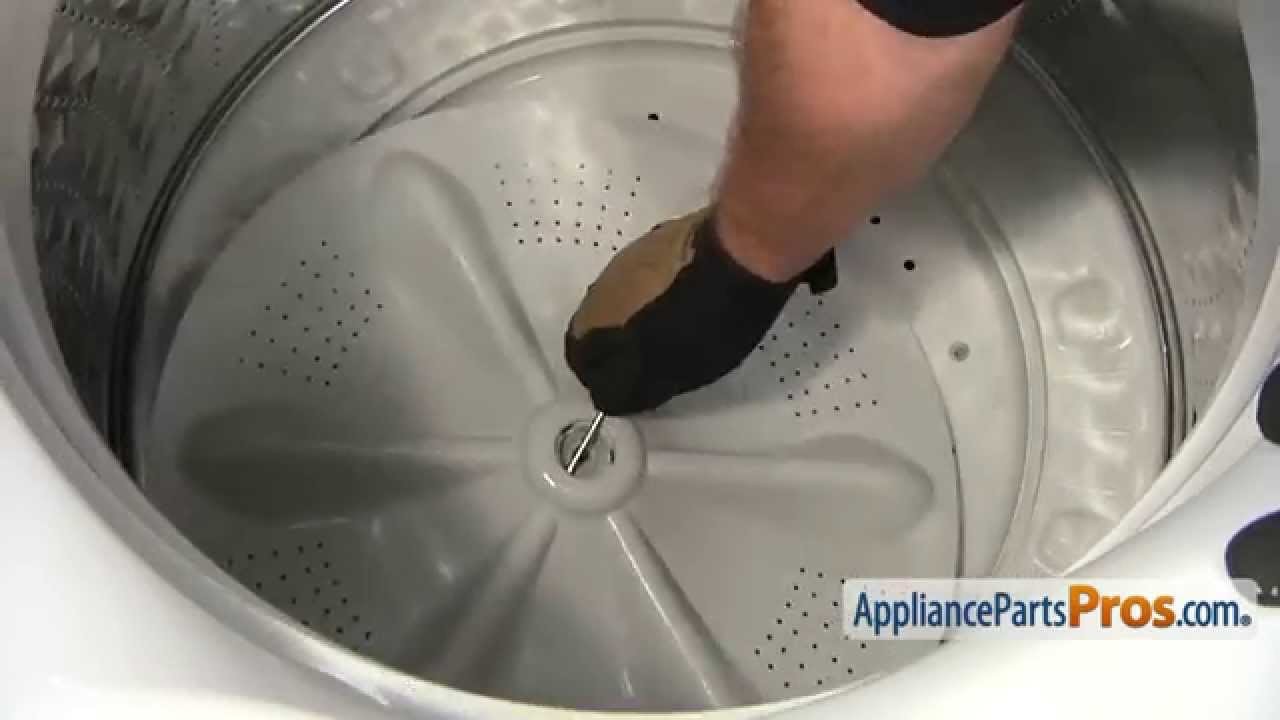
The first step in removing the drum is to disconnect the power supply to the washing machine. This is important to ensure your safety and prevent any damage to the machine.
To disconnect the power, unplug the washing machine from the electrical outlet. If you are working with a hard-wired machine, turn off the circuit breaker that supplies power to the appliance.
Step 2: Remove the outer panel
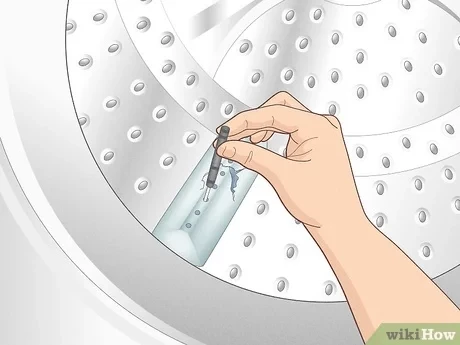
Once the power is disconnected, you can proceed to remove the outer panel of the washing machine. This will give you access to the drum and its components.
Start by locating and removing any screws or fasteners that are securing the panel in place. These are usually located on the back or top of the machine. Use a screwdriver or pliers to remove them.
Once the screws are removed, carefully lift or pry off the outer panel. Be mindful of any clips or latches that may be holding the panel in place and gently release them if necessary.
Step 3: Disconnect the drum assembly
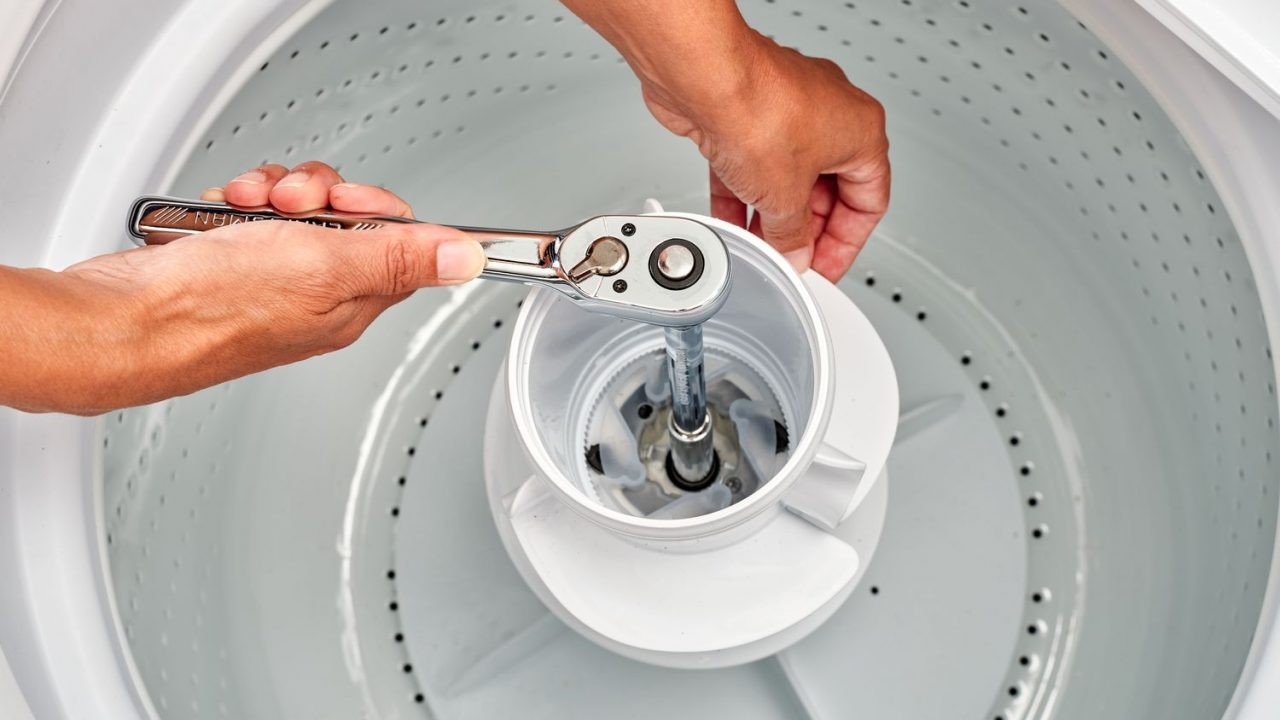
With the outer panel removed, you can now access the drum assembly. Begin by locating and disconnecting any wires or connectors that are attached to the drum. These may include electrical connections for the motor or sensors.
Once the wires are disconnected, you can proceed to remove any retaining clips or brackets that are securing the drum assembly. These may be located at the front or back of the drum. Use a screwdriver or pliers to remove them.
Once the drum assembly is free from any attachments, you can carefully lift it out of the washing machine. Be cautious not to damage any delicate components or wiring as you remove the drum.
Step 4: Inspect and clean the drum
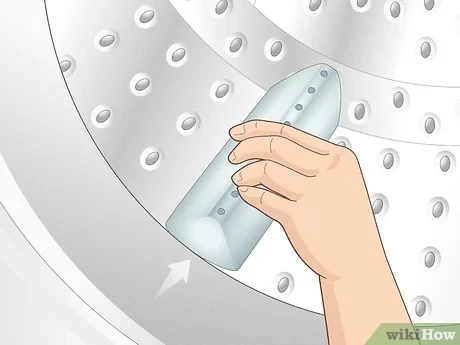
Now that the drum is removed, take a moment to inspect it for any signs of damage or wear. Look for cracks, rust, or worn-out bearings that may need to be replaced. If necessary, clean the drum thoroughly to remove any dirt or debris.
It is also a good idea to inspect the surrounding area for any buildup of lint or debris. Clean out any dust or debris that may have accumulated in the washing machine.
Once you have inspected and cleaned the drum and surrounding area, you can proceed to reassemble the washing machine following the reverse steps.
Note: If you are not confident in your ability to remove the drum or encounter any difficulties during the process, it is recommended to seek assistance from a professional or consult the manufacturer’s instructions.
Reassembling the Washing Machine

Once you have successfully removed the drum from your washing machine, it is time to reassemble it. Follow these steps to ensure that you put everything back together correctly:
1. Clean the Drum
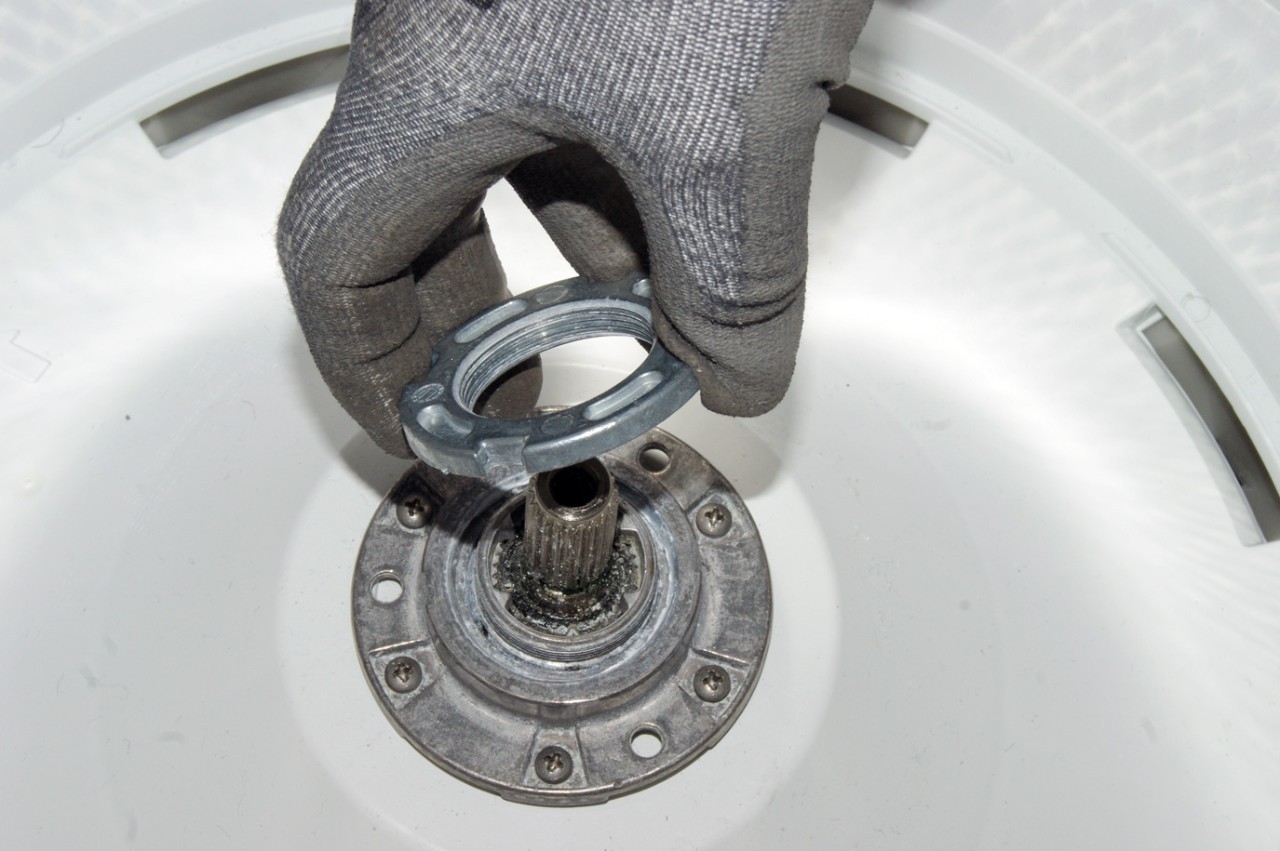
Before reassembling, take the time to clean the drum thoroughly. Use a mild detergent and warm water to remove any dirt or debris. Make sure to dry the drum completely before proceeding to the next step.
2. Reattach the Drum
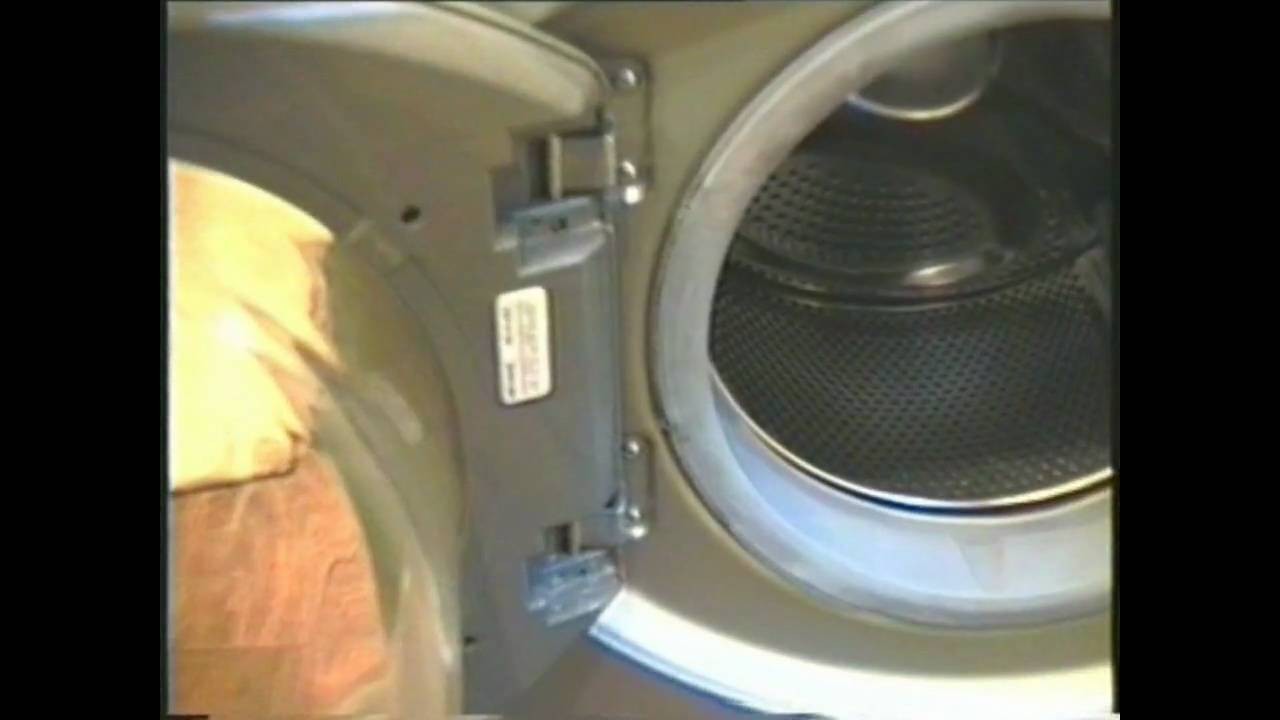
Carefully line up the drum with the corresponding mountings inside the washing machine. Gently slide the drum back into place, making sure it sits securely in its original position.
3. Tighten the Drum Bolts
Using a suitable wrench or spanner, tighten the drum bolts or nuts to secure the drum in place. Ensure that they are tightened evenly and do not overtighten, as this can cause damage to the drum or other parts of the washing machine.
4. Reconnect the Electrical and Water Connections

Reconnect any electrical connectors that were disconnected during the drum removal process. Make sure the connections are secure and properly seated. Also, reattach any water hoses or pipes, ensuring a tight fit to prevent leaks.
5. Test the Washing Machine

Once the drum is reassembled and all connections are secure, it’s time to test your washing machine. Run a short cycle to check for any unusual noises or vibrations. Ensure that the drum rotates smoothly and that water drains properly.
Following these steps should help you reassemble your washing machine correctly after removing the drum. Remember to consult your washing machine’s manual or seek professional help if you encounter any difficulties.
Video on the topic
How to remove a drum from a top loader washing machine – step by step
Removing a washing machine wash plate the easy way. DIY that anyone can do. Maytag Bravos Agitator
How to remove an LG washing machine pulsator #appliances
Answers to frequently asked questions
Read more practical tips and expert opinions about modern devices at appliances-news.com. Here you will find answers to questions about any technology.


