Is your washing machine making strange noises during the spin cycle? It could be a sign that the bearings in the drum need to be replaced. Over time, these bearings can wear out, causing the drum to become unstable and produce loud noises. Removing and replacing the bearings is a task that can be done by the average DIY enthusiast with some basic tools and a bit of patience.
Before starting the process, it’s important to note that this guide is intended for informational purposes only. If you are not confident in your mechanical skills, it is recommended to seek the assistance of a professional. Now, let’s get started!
Step 1: Disconnect the Power
The first and most important step is to disconnect the power supply to the washing machine. This can be done by unplugging the machine from the wall or turning off the circuit breaker that provides power to the appliance. Safety should always be the top priority when working with electrical appliances.
Step 2: Remove the Back Panel
Once the power is disconnected, locate the back panel of the washing machine and remove it. This can usually be done by unscrewing a series of screws that secure the panel in place. Once the screws are removed, gently lift the panel upwards and set it aside.
Step 3: Locate the Drum and Bearings
With the back panel removed, you will now have access to the drum and the bearings. The drum is the large metal cylinder that holds the clothes, and the bearings are located on either end of the drum. They are usually secured with a series of bolts or clips.
Step 4: Remove the Bearings
Using a wrench or socket set, carefully remove the bolts or clips that hold the bearings in place. Once the fasteners are loosened, you should be able to pull the bearings out of the drum. Be sure to take note of any washers or spacers that may be present, as these will need to be reinstalled when replacing the bearings.
Step 5: Install the New Bearings
After removing the old bearings, it’s time to install the new ones. Make sure to clean the drum and the area around the bearings before installing the new components. Apply a small amount of lubricating grease to the inner and outer surfaces of the bearings, then carefully slide them into place. Secure them with the appropriate fasteners.
Step 6: Reassemble the Washing Machine
With the new bearings installed, it’s time to reassemble the washing machine. Follow the previous steps in reverse order, starting with placing the back panel back into position and securing it with screws. Once the panel is in place, reconnect the power supply and test the machine to make sure it is running smoothly.
By following this step-by-step guide, you can remove and replace the bearings in your washing machine drum, restoring its functionality and eliminating those annoying noises. Remember to always prioritize safety and, if in doubt, consult a professional.
- Gather the necessary tools and materials
- Tools
- Materials
- Prepare the washing machine
- Remove the drum assembly
- Step 1: Disconnect the power
- Step 2: Access the back panel
- Step 3: Release the drive belt
- Step 4: Remove the drum assembly
- Disconnect the motor and drive belt
- Remove the pulley and drive shaft
- Remove the bearing housing
- Step 1: Disconnect the washing machine
- Step 2: Remove the back panel
- Step 3: Detach the drive belt
- Step 4: Remove the pulley and motor
- Step 5: Unscrew the bearing housing
- Extract the old bearing
- Install the new bearing
- Video on the topic
- Loud/Noisy LG Top Load Washer? Clutch/Tub Bearing #3661EA1009E
- Samsung Front Load Washer Ball Bearing Repair (Time-Lapse) DIY
- Answers to frequently asked questions
Gather the necessary tools and materials
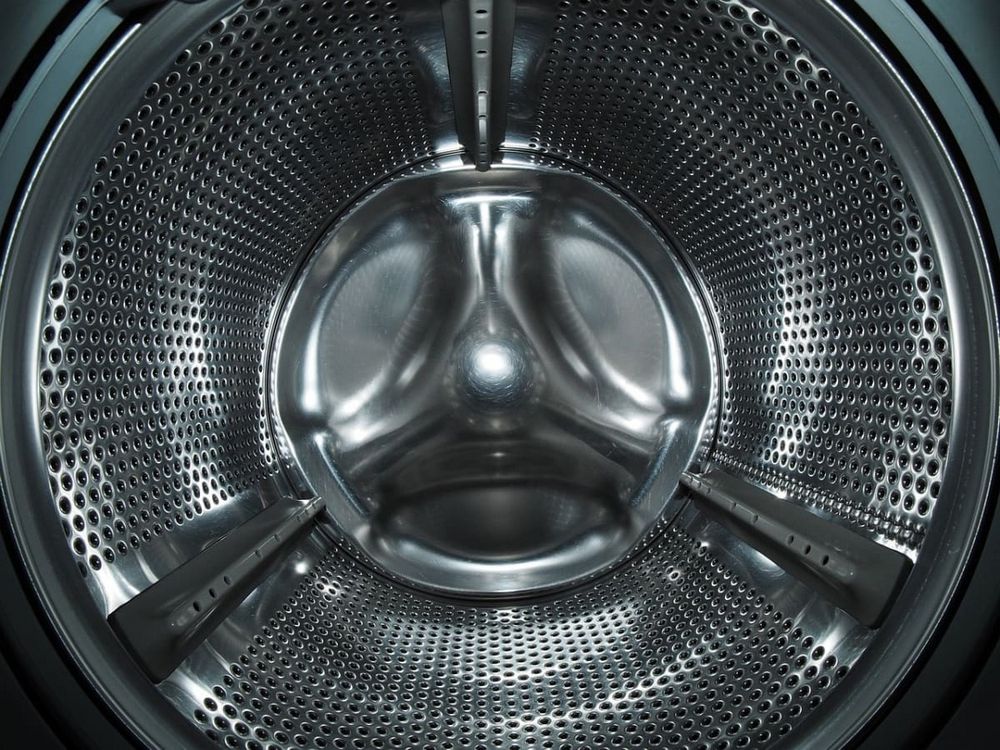
Before you proceed with removing the bearing from your washing machine drum, it’s important to gather all the necessary tools and materials. Having everything prepared beforehand will make the process much smoother and efficient. Here is a list of what you will need:
Tools
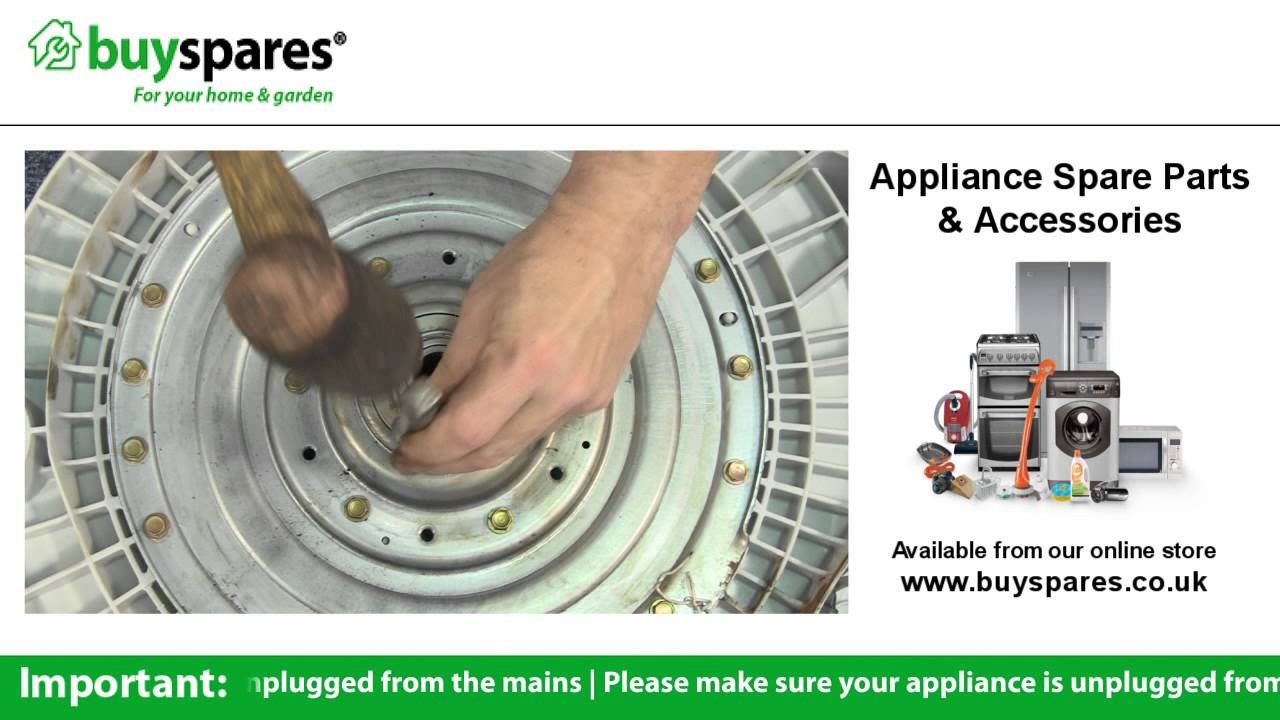
- Adjustable wrench
- Screwdriver set (Phillips and flathead)
- Socket wrench set
- Hammer
- Pliers
- Wire brush
- Putty knife
- Heat gun or hairdryer
Materials
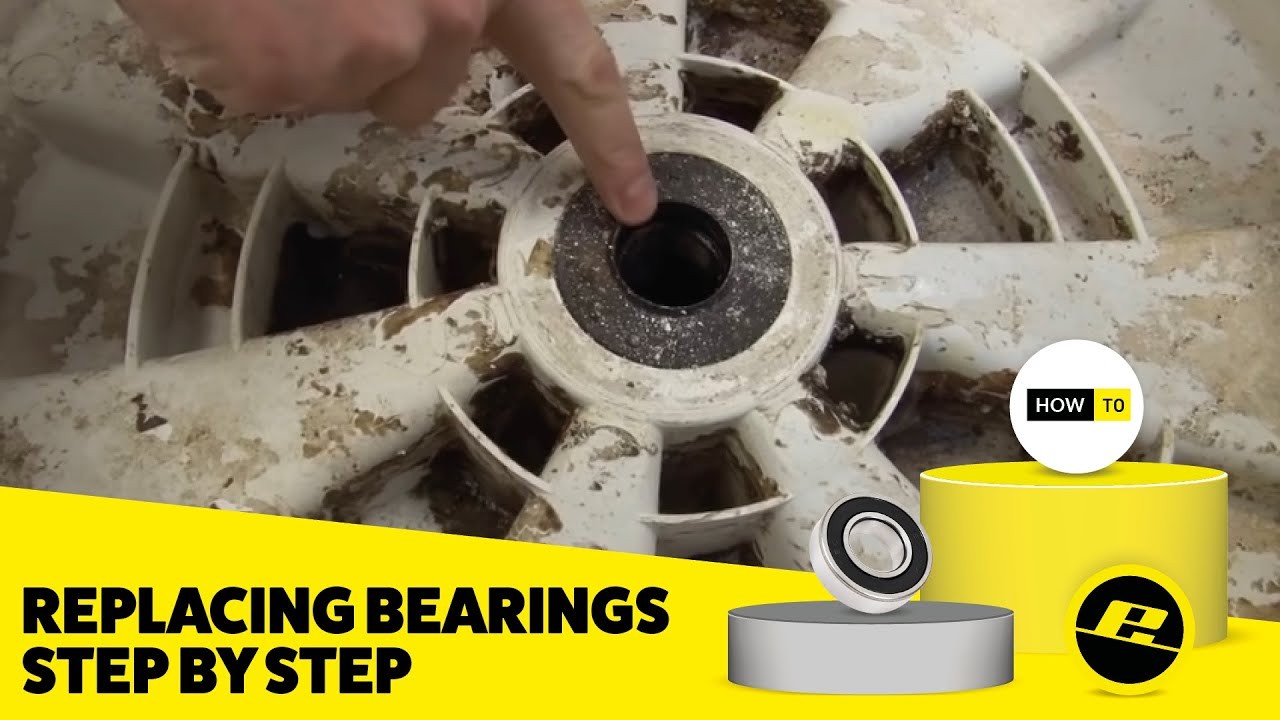
- Replacement bearing
- New seal
- Lubricant (such as bearing grease or oil)
- Cleaning solution or degreaser
- Rags or towels
Make sure to check the manufacturer’s instructions or your washing machine’s manual for any specific tools or materials required for your particular model. Once you have gathered all of these items, you will be ready to start the process of removing the bearing from your washing machine drum.
Prepare the washing machine
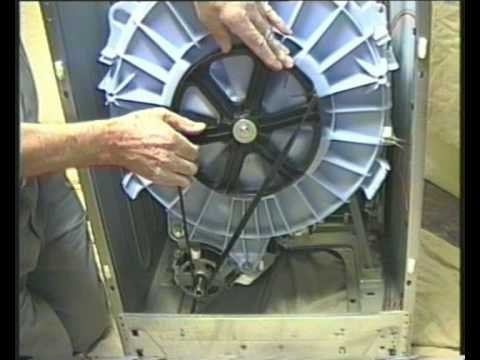
Before removing the bearing from the washing machine drum, it is important to properly prepare the machine to ensure a safe and efficient process. Make sure to follow these steps:
1. Turn off the power: Before doing anything, unplug the washing machine from the power source to avoid any potential electrical hazards.
2. Disconnect the water supply: If your washing machine is connected to a water supply, shut off the valves and disconnect the hoses from the machine.
3. Empty the drum: Remove any clothes or laundry from the drum to provide access to the bearing.
4. Drain the water: If there is any water left in the drum, drain it using the machine’s drain cycle or by using a bucket or towel to soak up the water.
5. Secure the drum: In order to access the bearing, the drum needs to be stabilized. Use a ratchet strap or place a block of wood between the drum and the machine to prevent it from moving during the removal process.
6. Prepare necessary tools: Gather all the tools needed for the bearing removal process, such as a wrench, pliers, and a bearing puller. Having all the necessary tools on hand will make the process easier and smoother.
By properly preparing the washing machine, you will ensure a safe and efficient removal of the bearing from the drum. Following the above steps will help to prevent damage to the machine and make the entire process go smoothly.
Remove the drum assembly

To begin the process of removing the bearing from the washing machine drum, you will first need to remove the drum assembly from the machine. Follow the step-by-step guide below:
Step 1: Disconnect the power
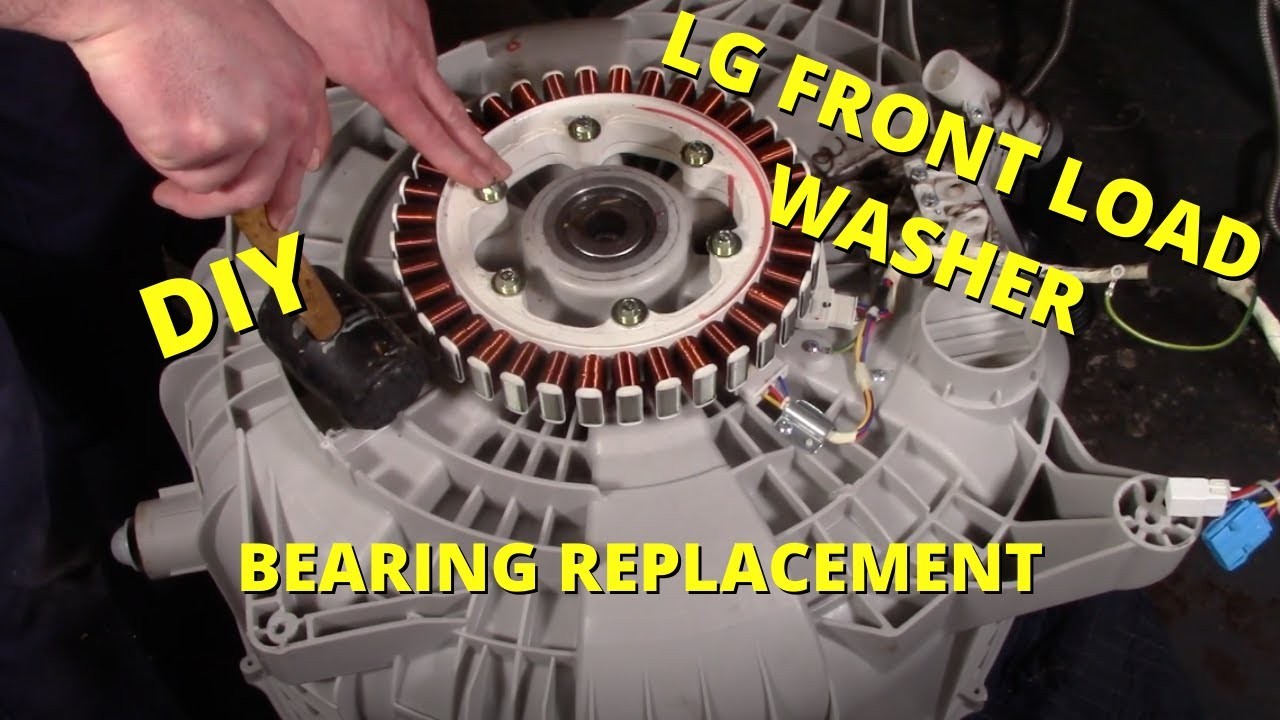
Before attempting to remove the drum assembly, it is essential to disconnect the power to the washing machine. This will ensure your safety during the process.
Step 2: Access the back panel
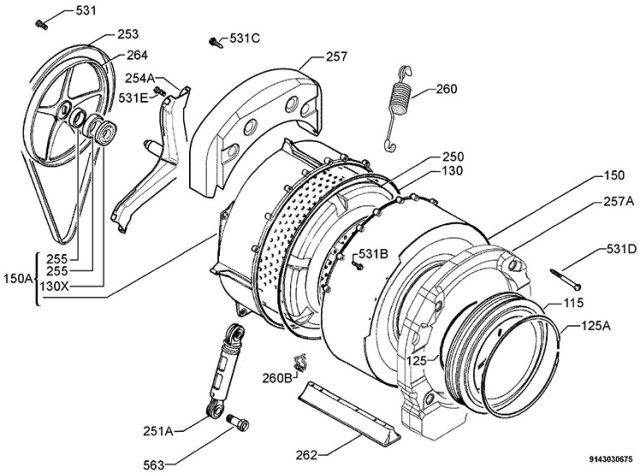
Locate the back panel of the washing machine and remove any screws or fasteners holding it in place. Once removed, you will have access to the drum assembly.
Step 3: Release the drive belt
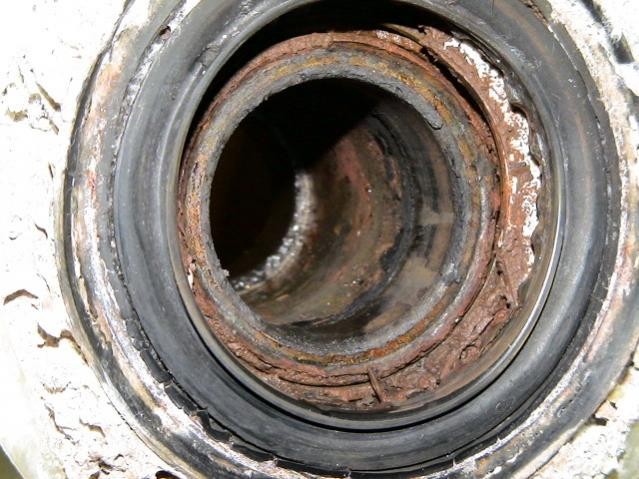
Locate the drive belt connected to the drum assembly and release the tension. This will allow you to remove the belt from the pulley, freeing the drum assembly.
Step 4: Remove the drum assembly
Using caution and proper lifting techniques, carefully lift and remove the drum assembly from the washing machine. Ensure you have a clear path to safely transport it to a workbench or other suitable area.
Removing the drum assembly is an important step in accessing the bearing and replacing it if necessary. Once the drum assembly is removed, you can proceed with the next steps of the bearing removal process.
Disconnect the motor and drive belt

Before removing the bearing, you will need to disconnect the motor and drive belt from the washing machine drum. This step is crucial to ensure that you can safely access the bearing without any interference.
To disconnect the motor and drive belt, follow these steps:
- Unplug the washing machine: Before starting any work, make sure to unplug the washing machine from the power source to prevent any accidents.
- Remove the back panel: Locate the back panel of the washing machine and use a screwdriver to remove the screws that hold it in place. Carefully lift the back panel off to expose the motor.
- Locate the motor: Once the back panel is removed, you will be able to see the motor. It is usually located at the bottom of the washing machine, connected to the drum.
- Disconnect the wiring: Use a pair of pliers to disconnect the wiring that connects the motor to the washing machine. Take note of the wiring connections or take pictures for reference, as you will need to reconnect them later.
- Loosen the drive belt: Locate the drive belt that connects the motor to the drum. Use a wrench or a socket set to loosen the tension on the belt and remove it from the motor pulley.
- Remove the motor: Once the wiring and drive belt are disconnected, the motor should be free to remove. Carefully lift the motor out of its place and set it aside in a safe location.
By following these steps to disconnect the motor and drive belt, you will be ready to proceed with removing the bearing from the washing machine drum.
Remove the pulley and drive shaft
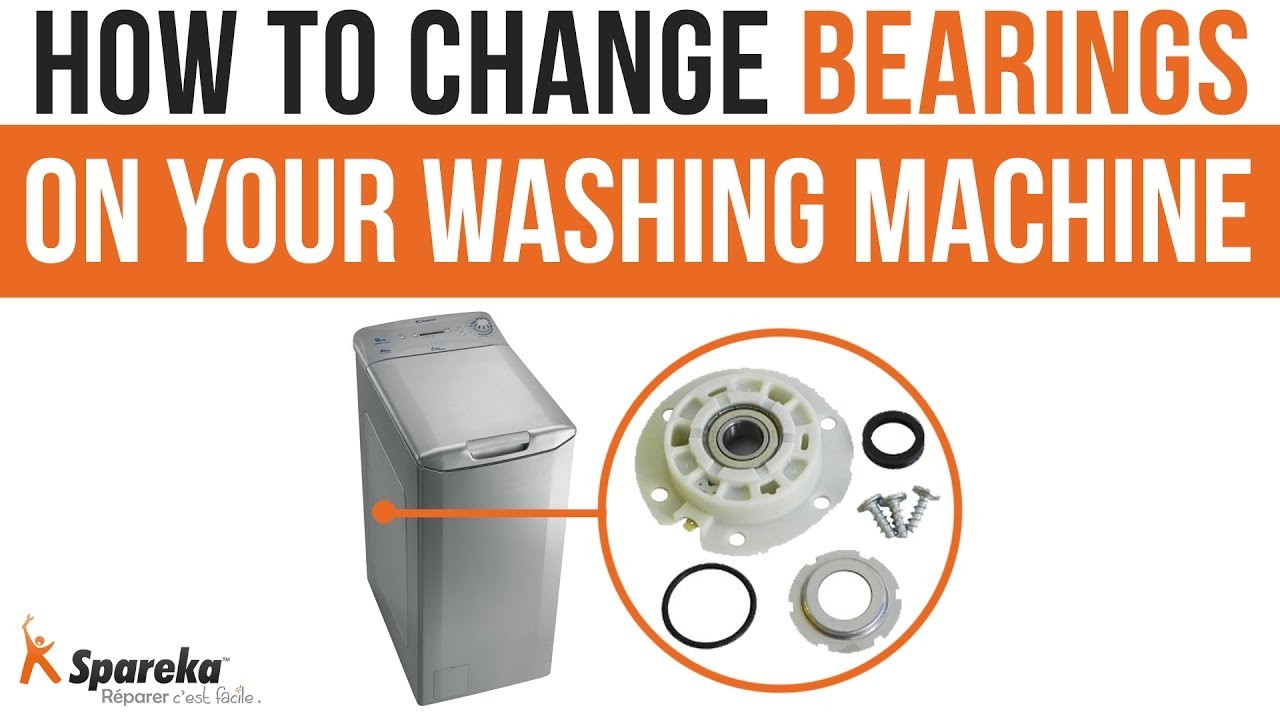
Before removing the bearing from the washing machine drum, it is necessary to remove the pulley and drive shaft. This is an important step in the disassembly process, as it allows you to access and remove the bearing more easily. Here are the steps to follow:
- Unplug the washing machine from the power source and turn off the water supply.
- Remove the back panel of the washing machine to gain access to the pulley and drive shaft.
- Locate the pulley, which is usually located at the bottom of the drum.
- Using a wrench or socket set, loosen the bolts or screws securing the pulley to the drive shaft.
- Once the pulley is loosened, slide it off the drive shaft.
- Next, locate the drive shaft, which is connected to the motor.
- Using a wrench or socket set, remove the bolts or screws securing the drive shaft to the drum.
- Gently pull out the drive shaft from the drum, taking care not to damage any other components.
Now that the pulley and drive shaft have been removed, you can proceed to the next step in removing the bearing from the washing machine drum. Refer to the manufacturer’s instructions or a repair manual for further guidance specific to your washing machine model.
Remove the bearing housing
Once the inner drum is removed, you can access the bearing housing, which is the component that houses the bearings. The bearing housing is typically located at the back of the washing machine drum.
To remove the bearing housing, follow these steps:
Step 1: Disconnect the washing machine
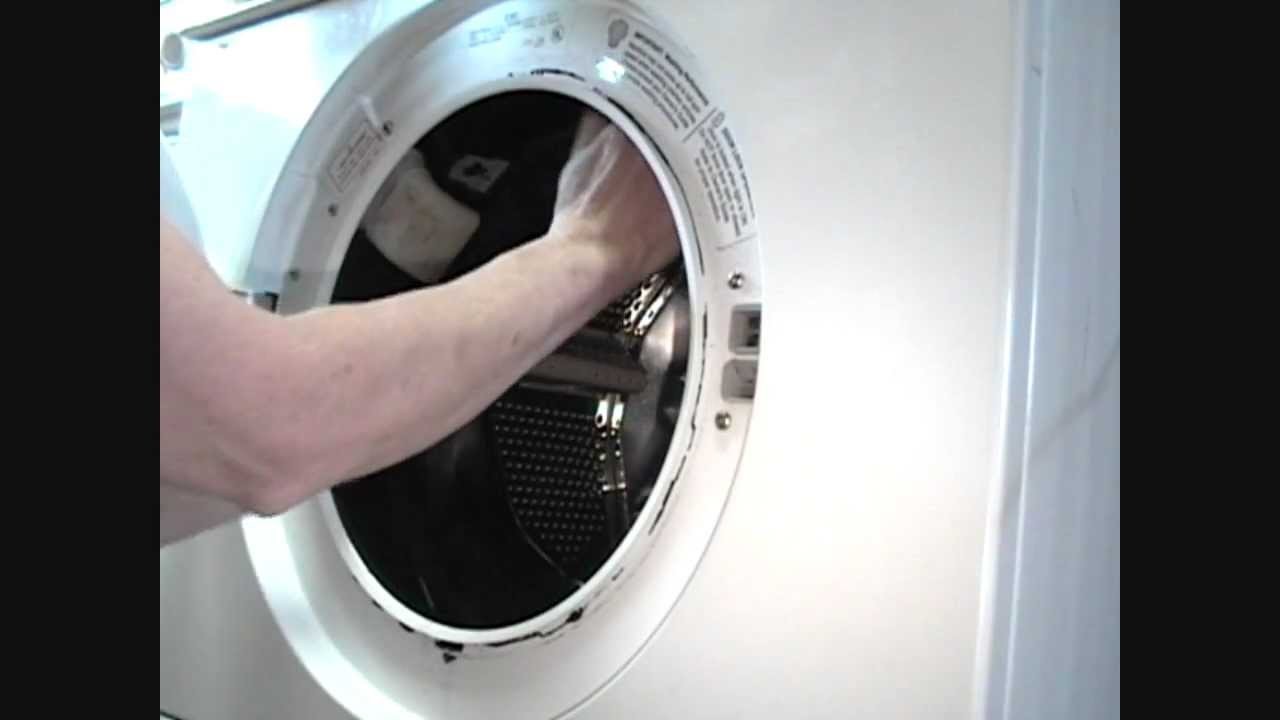
Before starting the disassembly process, make sure to unplug the washing machine from the power source to avoid any risk of electric shock.
Step 2: Remove the back panel
Next, remove the back panel of the washing machine to gain access to the bearing housing. The back panel is usually secured with screws or clips. Use a screwdriver or a wrench to remove them and set the panel aside.
Step 3: Detach the drive belt
The drive belt connects the motor to the drum, and it needs to be detached to remove the bearing housing. Locate the drive belt, loosen the tension, and slide it off the motor pulley.
Step 4: Remove the pulley and motor
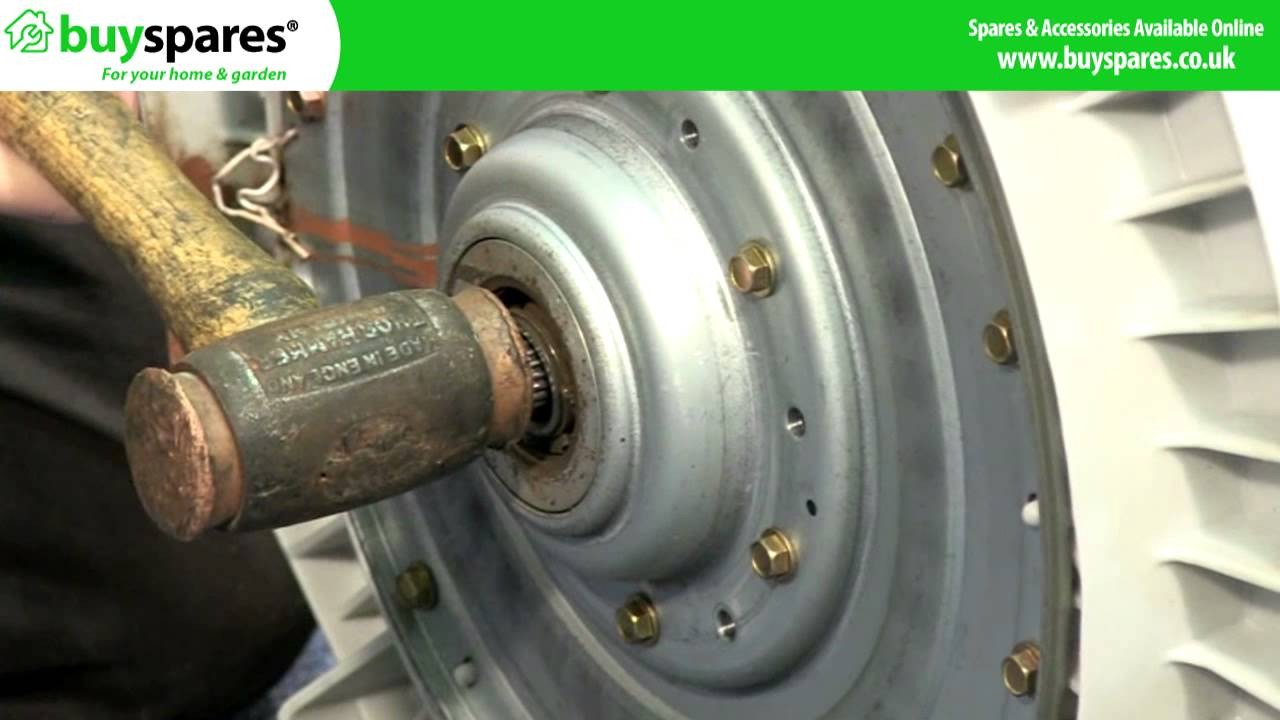
Once the drive belt is removed, you can detach the pulley and motor from the washing machine. This step may vary depending on the specific model of your washing machine. Refer to the manufacturer’s instructions or the appliance’s manual for guidance.
Step 5: Unscrew the bearing housing

With the motor and pulley out of the way, you can now unscrew the bearing housing from the washing machine drum. Use a screwdriver or a wrench to remove the screws or bolts that secure the housing in place.
Once the screws or bolts are removed, carefully lift the bearing housing out of the drum. Be cautious not to damage the drum or other components during this process.
With the bearing housing removed, you can proceed to replace or repair the bearings as needed.
Extract the old bearing
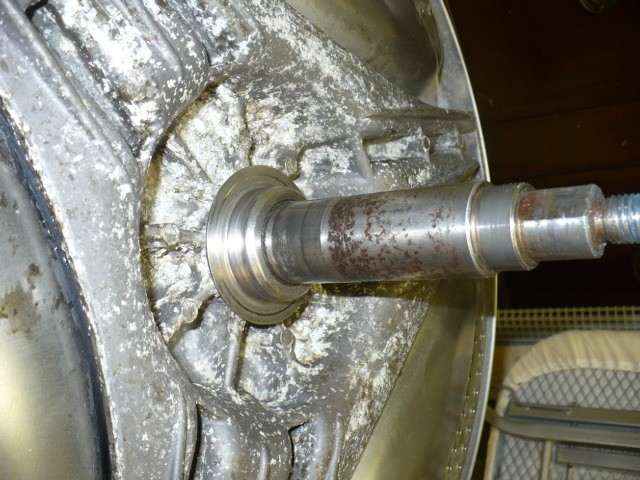
To extract the old bearing from the washing machine drum, you will need to follow these steps:
- Start by disconnecting the power supply to the washing machine to avoid any accidents.
- Remove the back panel of the washing machine to gain access to the drum area.
- Locate the old bearing, which is usually attached to the back of the drum.
- Use a wrench or pliers to loosen and remove the bolts or screws that are holding the bearing in place.
- Once the bolts or screws are removed, carefully pull the bearing away from the drum. Be mindful of any wires or connectors that may be attached to the bearing.
- If the bearing is stuck, you may need to apply some lubricant or gently tap it with a hammer to loosen it.
- Once the old bearing is fully detached from the drum, inspect it for any signs of damage or wear.
- If the old bearing is damaged or worn out, it is recommended to replace it with a new one.
By following these steps, you will be able to successfully extract the old bearing from the washing machine drum. Make sure to handle the bearing with care to avoid any further damage.
Install the new bearing

Once you have removed the old bearing from your washing machine drum, it’s time to install the new one. Here are the steps to follow:
- Make sure the new bearing is the correct size and type for your washing machine model. Refer to the manufacturer’s instructions or consult a professional if you’re unsure.
- Clean the area where the new bearing will be installed. Remove any debris or dirt that may hinder the installation process.
- Apply a thin layer of lubricant or grease to the inner race of the bearing. This will help reduce friction and ensure smooth operation.
- Line up the new bearing with the mounting surface in the drum. Carefully press it into place, making sure it fits snugly and securely.
- If necessary, use a specialized tool or a mallet to gently tap the bearing into place. Be careful not to damage the bearing or the drum during this step.
- Once the new bearing is installed, double-check its alignment and ensure it spins freely without any obstructions or wobbling.
- Reassemble the washing machine drum according to the manufacturer’s instructions. Make sure to tighten any screws or bolts securely.
With the new bearing properly installed, your washing machine should be ready for use again. Remember to run a test cycle to ensure everything is functioning correctly before putting any laundry in.
Video on the topic
Loud/Noisy LG Top Load Washer? Clutch/Tub Bearing #3661EA1009E
Samsung Front Load Washer Ball Bearing Repair (Time-Lapse) DIY
Answers to frequently asked questions
Read more practical tips and expert opinions about modern devices at appliances-news.com. Here you will find answers to questions about any technology.