Is your Atlant washing machine acting up? Before calling a repair service, why not try fixing it yourself? In this step-by-step guide, we’ll show you how to disassemble an Atlant washing machine to address common issues and potentially save you money on repairs.
This guide is accompanied by a detailed video that provides visual instructions, making it even easier for you to follow along. Whether you’re a seasoned DIY-er or a first-timer, you’ll find this guide helpful in tackling issues such as a malfunctioning pump, a clogged drain, or a loose drum.
First, gather the necessary tools for disassembling the machine. You’ll need a set of screwdrivers, pliers, a wrench, and a socket set. It’s essential to have the right tools to avoid damaging the machine or injuring yourself during the disassembly process.
Next, make sure to unplug the washing machine from the power source. Safety should always be a priority when working with electrical appliances. Once the machine is unplugged, you can begin the disassembly process with peace of mind.
Follow our step-by-step instructions and use the video as a visual reference. We’ll guide you through safely removing the control panel, door assembly, top cover, and other components of the Atlant washing machine. By taking the time to disassemble the machine properly, you’ll have better access to inspect and replace any faulty parts.
Remember to document the disassembly process by taking photos or videos. This will make it easier to reassemble the washing machine later on. Additionally, consider labeling or organizing the removed components to ensure they are not misplaced or damaged during the repair process.
By following this step-by-step guide and using the accompanying video, you’ll have the knowledge and confidence to disassemble your Atlant washing machine and troubleshoot common issues. Remember to always prioritize safety and consult a professional if you’re unsure about any step in the process.
- Tools You’ll Need
- Safety Precautions
- Removing the Front Panel
- Disconnecting the Electronics
- Removing the Drum
- Cleaning the Internal Parts
- Reassembling the Washing Machine
- 1. Assemble the Drum
- 2. Connect the Wiring
- 3. Reinstall the Water Inlet Valve
- 4. Attach the Control Panel
- 5. Reattach the Outer Panels
- Video on the topic
- Process of Turning Old Washing Machine into New One. Korean Appliance Cleaning Technician
- Answers to frequently asked questions
Tools You’ll Need
Before you start disassembling your Atlant washing machine, make sure you have the following tools:
- Screwdrivers: You will need both a flathead and a Phillips screwdriver to remove the screws that hold the machine together.
- Pliers: Pliers will come in handy for removing wire connectors and other small components.
- Hex Key Set: A hex key set is necessary for loosening and tightening hex screws.
- Socket Wrench: A socket wrench will be needed to remove any bolts or nuts.
- Adjustable Wrench: An adjustable wrench is useful for loosening and tightening different sizes of nuts and bolts.
- Needle-nose Pliers: Needle-nose pliers are ideal for reaching into tight areas and gripping small parts.
- Flashlight: A flashlight will help you see into dark areas of the machine.
- Gloves: It’s always a good idea to wear gloves to protect your hands from sharp edges and potential electrical hazards.
Having these tools on hand will make the disassembly process much easier and ensure that you have everything you need to successfully take apart your Atlant washing machine.
Safety Precautions

Disassembling an Atlant washing machine requires caution and adherence to safety measures. Before attempting to disassemble the machine, make sure to follow these safety precautions:
- Turn off the power supply to the washing machine and disconnect it from the electrical outlet.
- Wear safety goggles and gloves to protect yourself from any sharp or hazardous materials.
- Ensure the washing machine is empty and free from any water or detergent residues.
- Place a mat or cloth to protect the floor and provide a comfortable working surface.
- Keep a fire extinguisher nearby in case of any electrical or fire-related emergencies.
- Consult the user manual or manufacturer’s instructions for specific disassembly procedures.
By following these safety precautions, you can greatly reduce the risk of injury or damage during the disassembly process.
Removing the Front Panel
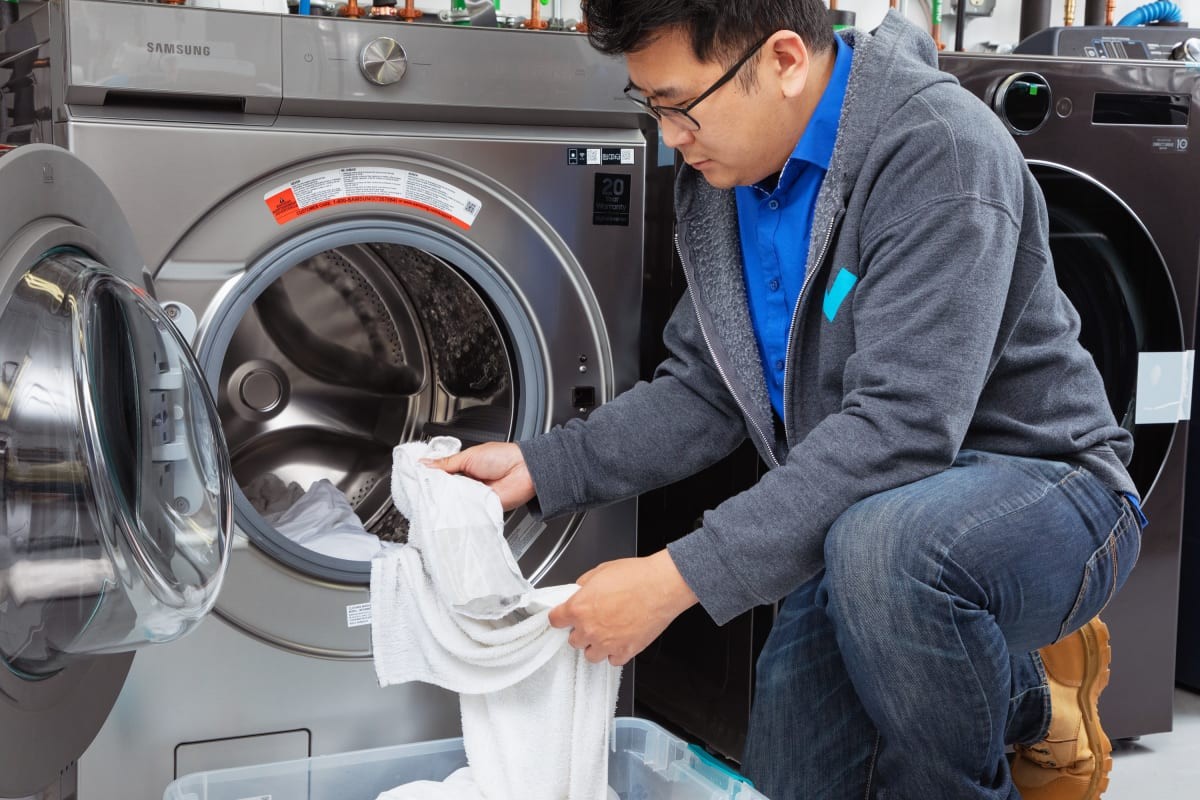
Before you start removing the front panel of your Atlant washing machine, make sure you have the necessary tools at hand. You will need a screwdriver, a wrench, and a pair of pliers.
Here is a step-by-step guide on how to remove the front panel:
- Unplug the washing machine from the power source to ensure your safety.
- Locate the screws that hold the front panel in place. In most Atlant washing machine models, these screws can be found on the bottom of the panel.
- Using a screwdriver, carefully remove the screws and set them aside.
- Once the screws are removed, gently pull the front panel towards you to release it from the clips that hold it in place.
- Be careful not to force the panel as it may still be connected to the machine through wires and hoses. If this is the case, locate the connectors and disconnect them using a pair of pliers.
- After disconnecting any remaining wires or hoses, set the front panel aside.
Now that you have successfully removed the front panel, you can proceed with disassembling other parts of your Atlant washing machine. Just remember to keep the screws and other small parts in a safe place so you don’t lose them during the process.
Disconnecting the Electronics
Before disassembling an Atlant washing machine, it’s crucial to disconnect the electronics to ensure safety and prevent any damage. Here is a step-by-step guide on how to do it:
1. Unplug the washing machine: Locate the power cord at the back of the machine and unplug it from the wall socket. This will ensure that the machine is completely disconnected from the electrical supply.
2. Turn off the water supply: Locate the water supply valves connected to the washing machine. Turn them off to stop the flow of water into the machine. This will prevent any damage or water leakage during the disassembly process.
3. Remove the control panel: Start by removing the screws that secure the control panel in place. Carefully lift the control panel upward, taking care not to damage any wires connected to it. Identify and disconnect the electronic connectors attached to the control panel.
4. Identify and disconnect the wiring harnesses: Take note of the various wiring harnesses connected to the washing machine. These harnesses are responsible for transmitting electrical signals to different components. Disconnect these harnesses carefully, making sure to remember their respective positions.
5. Unfasten any other electronic connections: Look for any other electronic connections, such as sensors or control modules, and disconnect them as necessary. These may include temperature sensors, pressure switches, or motor control modules.
6. Label the disconnected wires: To make reassembly easier later on, consider labeling each disconnected wire or using a digital camera to take pictures of the wire connections. This will help ensure that you can easily reconnect everything correctly.
By following these steps, you can safely disconnect the electronics of your Atlant washing machine, preparing it for the disassembly process.
Removing the Drum
To begin removing the drum from your Atlant washing machine, follow these steps:
- Unplug the washing machine from the power source to ensure your safety during the disassembly process.
- Remove the back panel of the washing machine to access the drum assembly. You may need to use a screwdriver to loosen and remove the screws holding the panel in place.
- Once the back panel is removed, locate the drum assembly. It will be connected to various components of the washing machine.
- Disconnect any electrical connections or wires that are attached to the drum assembly. Be sure to take note of how they are connected, so you can easily reassemble them later.
- Next, disconnect any hoses or tubes that are connected to the drum assembly. There may be a drain hose connected to the bottom of the drum that will need to be detached.
- Once all connections are disconnected, you can begin removing the drum. Depending on the specific model of your Atlant washing machine, there may be a locking mechanism or screws holding the drum in place. Remove any fasteners or locks accordingly.
- Carefully lift and remove the drum from the washing machine. It may be helpful to have an extra pair of hands to assist with this step, as the drum can be heavy.
With the drum successfully removed, you can now proceed with any necessary repairs or maintenance tasks. Remember to reference the manufacturer’s manual for further guidance if needed.
Cleaning the Internal Parts
Once you have disassembled your Atlant washing machine, it’s important to clean the internal parts to ensure optimal performance and longevity. Follow these steps to clean the internal parts:
- Start by cleaning the drum. Use a damp cloth or sponge to wipe down the inside of the drum, removing any dirt or debris that may have accumulated. Pay special attention to the rubber seal around the door, as this area can often collect detergent residue and mold.
- Next, clean the detergent dispenser drawer. Remove the drawer from the machine and rinse it thoroughly with warm water. Use an old toothbrush or sponge to scrub away any remaining residue. Allow the drawer to dry completely before reinserting it into the machine.
- Now, it’s time to clean the filter. Locate the filter, which is usually located at the bottom front of the machine. Open the filter cover and remove any loose debris, such as lint or coins. Rinse the filter under running water to remove any remaining dirt. Use a soft-bristled brush to scrub away any stubborn residue. Once clean, reinsert the filter into its housing and secure the cover.
- Lastly, clean the exterior of the machine. Wipe down the control panel, top, sides, and front of the machine with a damp cloth or sponge. Be sure to remove any spills or stains that may have occurred during use. Pay extra attention to any buttons or knobs, as these areas can often collect dirt and grime.
By regularly cleaning the internal parts of your Atlant washing machine, you can ensure that it continues to perform at its best. This will help extend the lifespan of your machine and prevent any potential issues down the line. Follow these steps after disassembling your machine to keep it in top condition.
Reassembling the Washing Machine
Once you have finished disassembling the washing machine and have completed the necessary repairs or maintenance, it’s time to put everything back together. Follow these steps to successfully reassemble your Atlant washing machine:
1. Assemble the Drum

Begin by reattaching the drum to the washing machine. Line up the drum with the appropriate mounting brackets and secure it in place using the provided screws or bolts. Make sure the drum is securely fastened before moving on to the next step.
2. Connect the Wiring
Next, reconnect any wiring that you disconnected during the disassembly process. Refer to your user manual or the labeled diagram inside the washing machine to ensure you connect the wires correctly. Secure the wiring in place using any provided clips or fasteners.
3. Reinstall the Water Inlet Valve
Reinstall the water inlet valve by aligning it with the appropriate mounting bracket and connecting it to the water supply hoses. Use a wrench or pliers to securely tighten any nuts or fittings to prevent leaks.
4. Attach the Control Panel
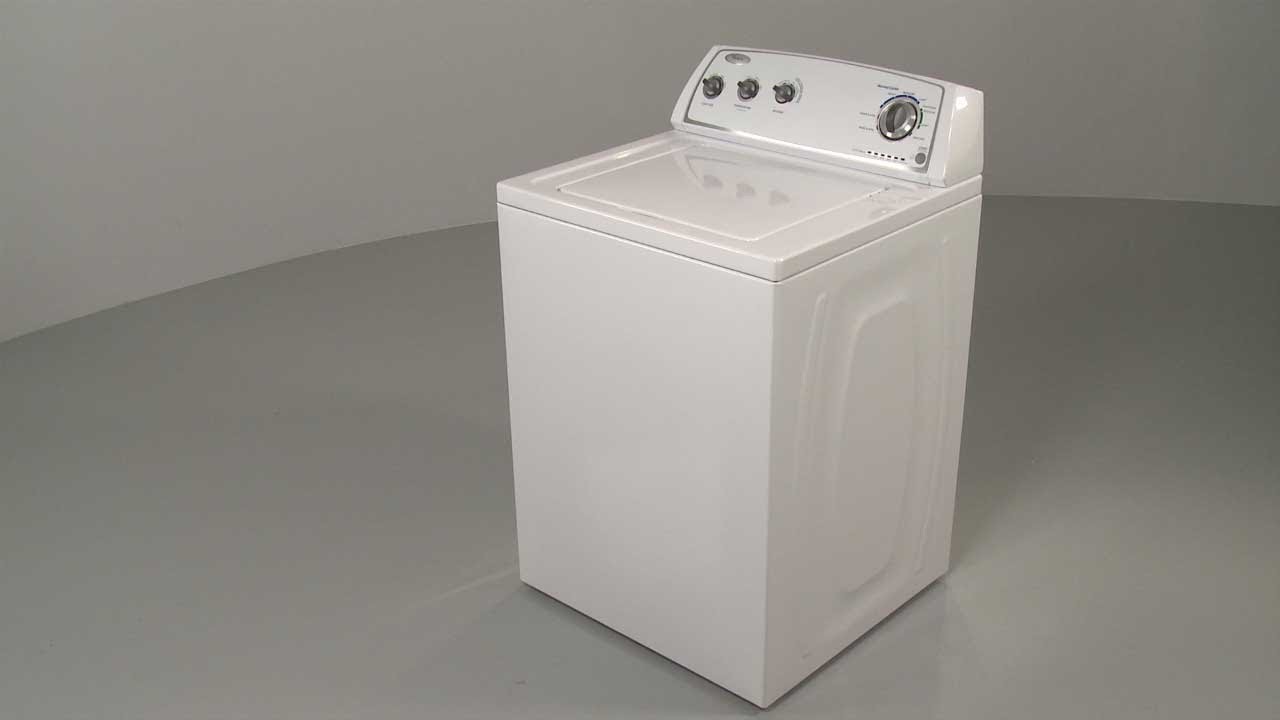
Attach the control panel back to the top of the washing machine. Line up the panel with the corresponding holes or slots and secure it in place using the provided screws or clips. Make sure the control panel is properly aligned and securely attached.
5. Reattach the Outer Panels

Finally, reattach the outer panels to the washing machine. Start with the back panel and work your way around to the sides, front, and top panel. Secure each panel in place using the appropriate screws or clips, making sure they are tightly fastened.
| Step | Task |
|---|---|
| 1 | Assemble the Drum |
| 2 | Connect the Wiring |
| 3 | Reinstall the Water Inlet Valve |
| 4 | Attach the Control Panel |
| 5 | Reattach the Outer Panels |
Once you have successfully reassembled the washing machine, plug it back in and test it to ensure everything is working properly. If you encounter any issues or have any concerns, refer to your user manual or contact a professional for further assistance.
Video on the topic
Process of Turning Old Washing Machine into New One. Korean Appliance Cleaning Technician
Answers to frequently asked questions
Read more practical tips and expert opinions about modern devices at appliances-news.com. Here you will find answers to questions about any technology.