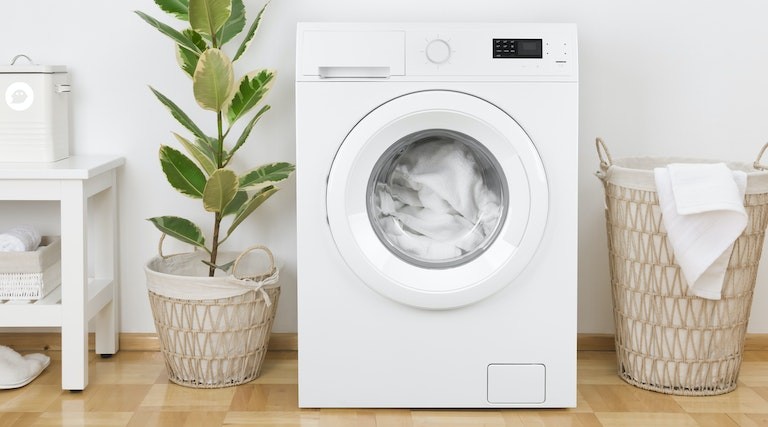
Have you ever experienced a washing machine that shakes or moves loudly during a spin cycle? This can be an annoying and potentially damaging problem. One common cause of this issue is an unlevel washing machine. If your washing machine is not level, it can cause excessive vibrations and noise, leading to potential damage to the machine and your home. Don’t worry though, leveling a washing machine is a simple and straightforward process that you can do yourself.
Step 1: Prepare your washing machine
Before you start leveling your washing machine, make sure it is empty and unplugged. This will ensure your safety and make the process easier. It’s also a good idea to turn off the water supply to the machine to prevent any leaks or flooding.
Step 2: Check the level
Next, grab a bubble level and place it on top of the washing machine. Check if the bubble is centered between the lines, indicating that the machine is level. If not, you’ll need to adjust the legs to level it properly.
- Step 1: Gathering the necessary tools
- 1. Bubble level
- 2. Adjustable wrench
- 3. Screwdriver
- 4. Measuring tape
- 5. Wood shims
- Step 2: Preparing the area
- Step 3: Checking the legs
- Step 4: Adjusting the legs
- Step 5: Testing the balance
- Video on the topic
- LG Washer : How to Level the Washer | LG
- How to Level Your Washing Machine and Dryer | Encore by Laundrylux
- Leveling your Washing Machine
- Samsung Front Load Washer Leveling Leg, Front #DC97-14293A
- Answers to frequently asked questions
Step 1: Gathering the necessary tools
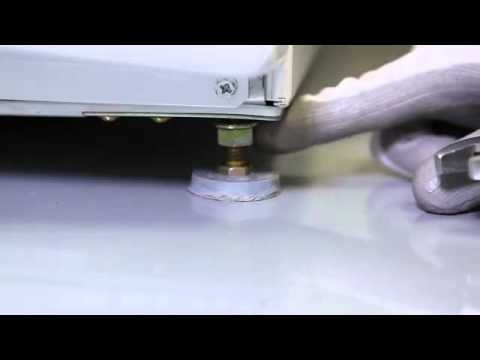
Before you begin leveling your washing machine, it’s important to gather all the necessary tools to ensure a smooth and efficient process. Here’s a list of items you’ll need:
1. Bubble level
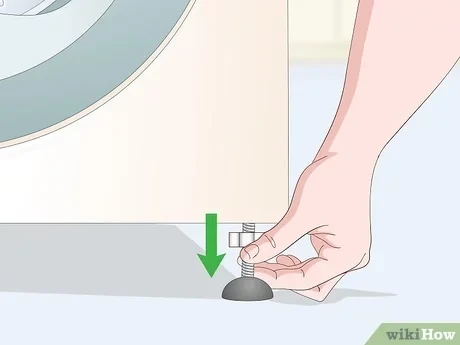
A bubble level is an essential tool for leveling your washing machine. This tool helps you determine whether the machine is correctly leveled in all directions. You can easily find a bubble level at your local hardware store.
2. Adjustable wrench
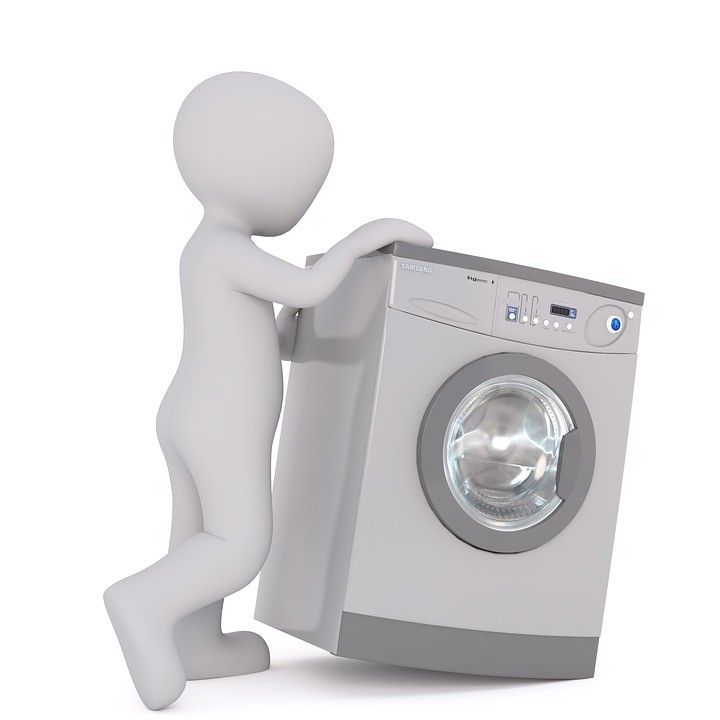
You’ll need an adjustable wrench to adjust the legs of your washing machine. This tool allows you to tighten or loosen the legs to achieve the desired level. Make sure you have a wrench that fits the size of your machine’s legs.
3. Screwdriver
A screwdriver is necessary to remove and adjust any screws or bolts that secure the legs of your washing machine. Make sure you have a screwdriver with various sizes and types of heads to tackle different screws.
4. Measuring tape
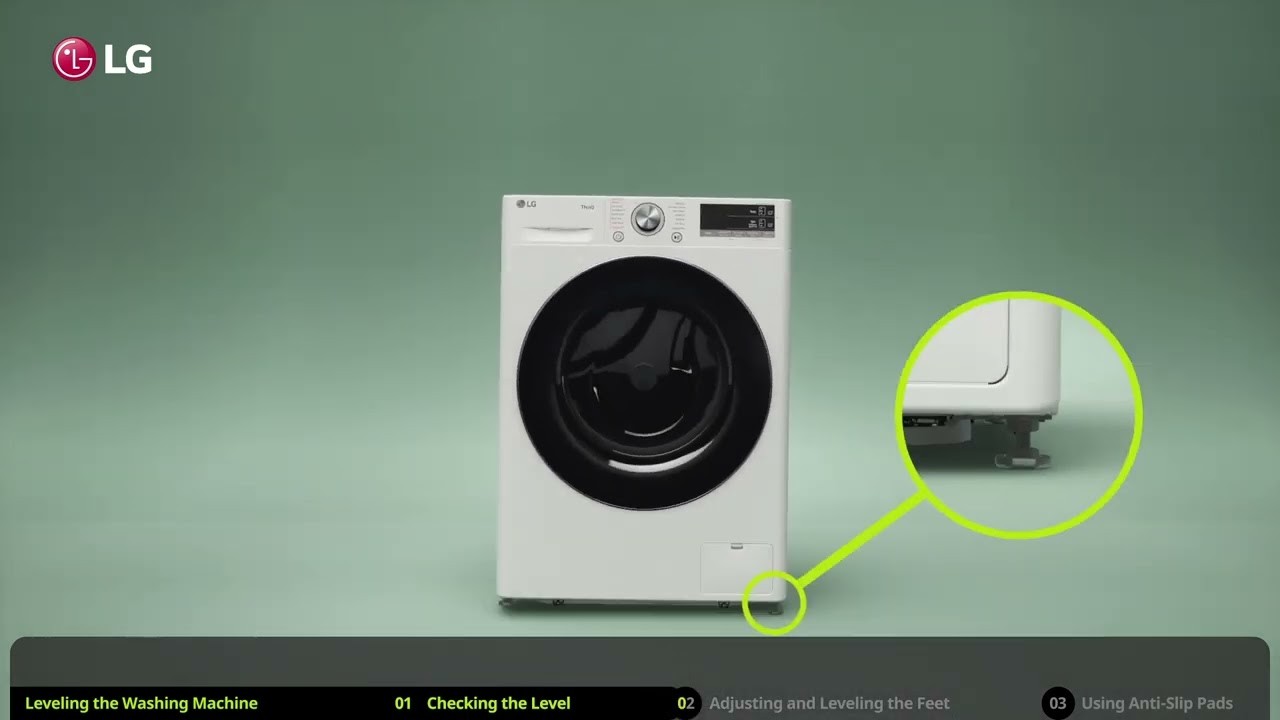
A measuring tape will come in handy to ensure that your machine is leveled at the right height. It will help you measure the distance between the machine’s bottom and the ground to ensure an even level.
5. Wood shims
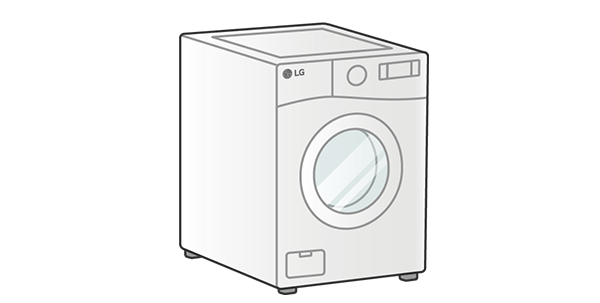
Wood shims are used to provide additional support and stability to your washing machine. If your machine is slightly uneven, you can use wood shims to fill in the gaps between the machine and the floor to achieve a perfect level.
Make sure you have all these tools gathered before you start leveling your washing machine. Having the right tools will make the process much easier and ensure that your machine operates smoothly and efficiently.
Step 2: Preparing the area

Before leveling your washing machine, it’s important to prepare the area to ensure a stable and secure installation. Follow these steps to properly prepare the area:
1. Clear the surrounding space: Remove any items or clutter around the washing machine. This will provide you with enough room to work and prevent any obstacles that may affect the leveling process.
2. Check the flooring: Ensure that the floor beneath the washing machine is sturdy and level. Uneven or weak flooring can affect the stability of the machine and lead to vibration or even damage. If necessary, consider reinforcing the floor or placing a solid base beneath the machine.
3. Secure loose hoses or cables: Take a moment to check if any hoses or cables connected to the washing machine are loose. Secure them properly to avoid any accidents or interference during the leveling process.
4. Turn off the water supply: Before moving the washing machine, make sure to turn off the water supply valves. This will prevent any water leaks or flooding while you work on leveling the machine.
By taking the time to prepare the area, you can ensure a smooth leveling process and a stable installation for your washing machine.
Step 3: Checking the legs
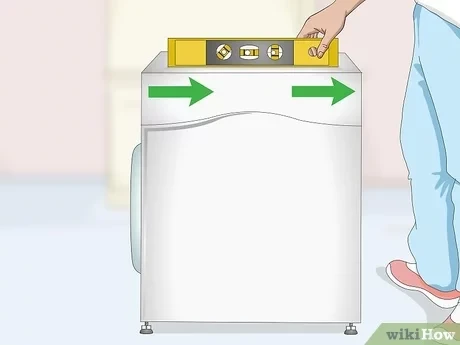
Once the washing machine is in the correct position, you will need to check the legs to ensure that they are properly adjusted. Unbalanced legs can cause the machine to shake during the spin cycle, leading to loud noises and potential damage to the machine and your floor.
To check the legs, start by locating the adjustable feet at the bottom of the washing machine. Most machines have four feet, one at each corner. These feet can usually be adjusted by turning them either clockwise or counterclockwise. Some machines may also have locking nuts that need to be loosened before adjusting the feet.
Place a level on top of the machine to check its balance. If the machine is not level, adjust the feet until the bubble in the level is centered. Turn the feet clockwise to raise that corner of the machine or counterclockwise to lower it. Use a wrench or pliers to make the adjustments if needed.
Once the machine is level, make sure to tighten any locking nuts to secure the feet in place. This will help prevent them from shifting during use. Once the legs are securely adjusted and tightened, check the level again to ensure that the machine is still balanced.
Important Tip: It’s recommended to check the level of your washing machine periodically, as the legs may become loose over time due to vibrations during use.
In the next step, we will discuss how to test the leveling of the machine and make any necessary adjustments.
Step 4: Adjusting the legs

Once you have successfully placed your washing machine in its desired location and have ensured that it is leveled using a bubble level, the next step is to adjust the legs of the machine.
Most washing machines have adjustable legs that can be extended or retracted to accommodate for any unevenness in the floor. You can usually find these legs at the bottom corners of the machine.
To adjust the legs, start by loosening the locknut that secures each leg in place. You can use a wrench or pliers to loosen it. Once the locknut is loose, twist the leg clockwise to retract it and counterclockwise to extend it. Keep adjusting the legs until the machine is leveled.
While adjusting the legs, periodically check the level of the machine using the bubble level. This will ensure that you are making accurate adjustments and will help you achieve a perfectly balanced washing machine.
Once you have leveled the machine and are satisfied with the balance, tighten the locknuts on each leg to secure them in place. Make sure to check the level again after tightening to ensure that the machine hasn’t shifted.
Properly adjusting the legs of your washing machine is crucial for its optimal performance and longevity. Uneven machines can cause excessive vibrations, noise, and even damage to the machine and surrounding areas. Take the time to level your washing machine properly to enjoy hassle-free laundry experiences.
Step 5: Testing the balance
After leveling your washing machine, it is important to test if it is properly balanced. A washing machine that is not balanced can cause excessive noise, movement, and even damage to the machine or surrounding areas. Follow these steps to test the balance:
- Make sure the washing machine is empty. Remove any clothes or water from the drum.
- Close the washing machine door securely.
- Select a spin cycle and start the machine.
- Observe the machine while it is spinning. Pay attention to any excessive movement or vibrations.
- If the machine is noticeably vibrating or moving, stop the cycle immediately. This indicates that it is not properly balanced.
- If the machine is not balanced, turn it off and open the door.
- Check if the legs are still level. If not, adjust them until they are properly leveled.
- Repeat steps 3, 4, 5, and 6 until the machine runs smoothly without excessive movement or vibrations.
- Once the washing machine is balanced, you can proceed with your laundry tasks.
Testing the balance of your washing machine is an essential step to ensure its proper functioning and prevent any potential damage. By following these steps, you can ensure that your washing machine operates smoothly and efficiently.
Video on the topic
LG Washer : How to Level the Washer | LG
How to Level Your Washing Machine and Dryer | Encore by Laundrylux
Leveling your Washing Machine
Samsung Front Load Washer Leveling Leg, Front #DC97-14293A
Answers to frequently asked questions
Read more practical tips and expert opinions about modern devices at appliances-news.com. Here you will find answers to questions about any technology.