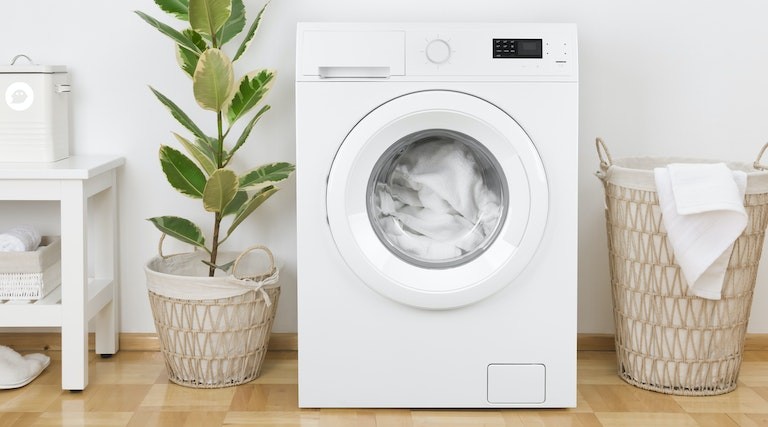
Is your washing machine making strange noises? Or maybe it is not draining water properly? One possible culprit could be a malfunctioning pump. The good news is that you don’t have to call a repairman just yet. In this step-by-step guide, we will walk you through the process of disassembling a washing machine pump so you can easily replace it yourself.
Before you begin, make sure to unplug the washing machine and turn off the water supply. It’s also a good idea to have a bucket handy to catch any water that may spill out during the disassembly process. Once you have taken these precautions, you can start with the first step: locating the pump.
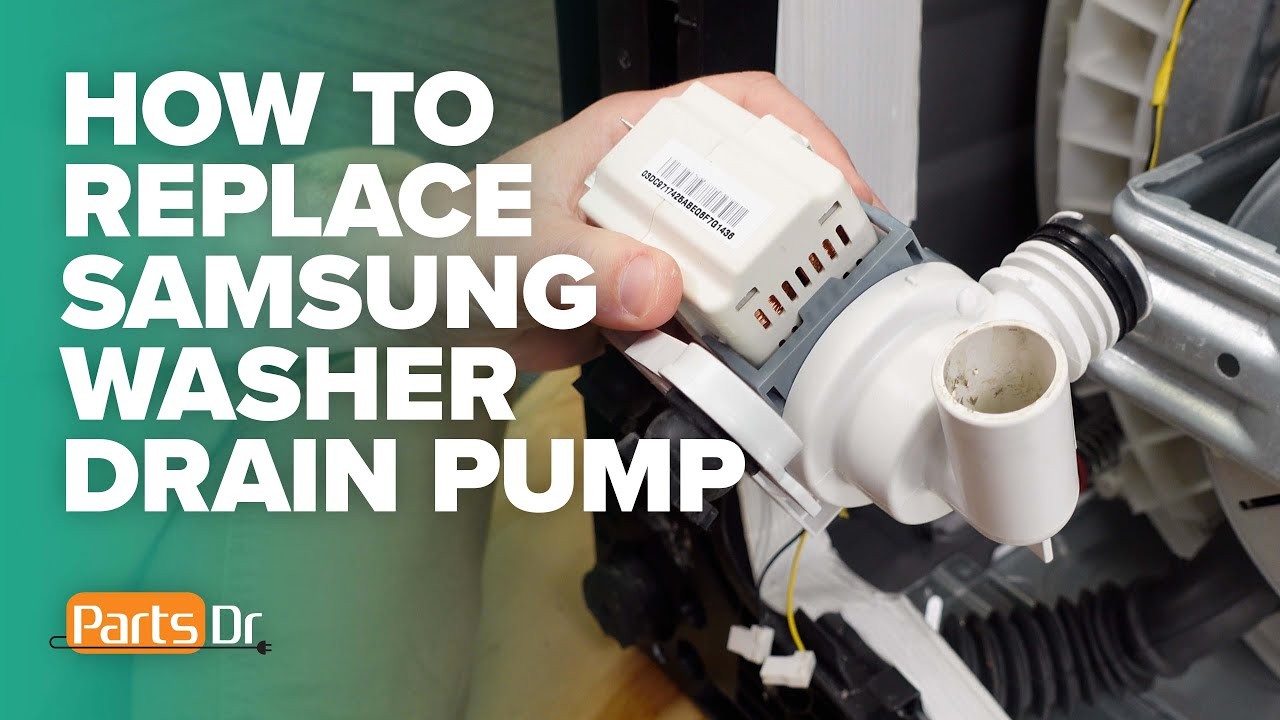
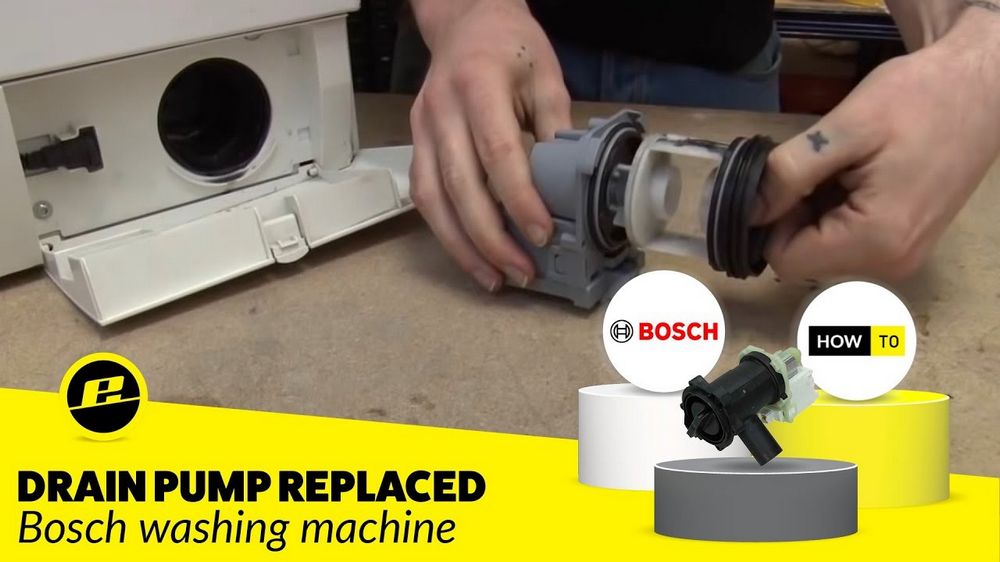
The pump is usually located at the bottom of the washing machine, near the front or back. Look for a small access panel that can be removed with a screwdriver or a few clips that can be released. Once you have located the access panel, carefully remove it and set it aside. You should now have a clear view of the pump.
Next, disconnect the wires that are attached to the pump. Take a moment to make note of which wire goes where, so you can easily reconnect them later. Then, using a pair of pliers, loosen the clamps that are holding the pump in place. Gently slide the pump out of its housing and place it on a clean, flat surface.
Now that the pump is free, you can inspect it for any signs of damage or debris. Check for clogs or foreign objects that may be blocking the pump. If you spot any, carefully remove them with a pair of tweezers or a small brush. If the pump is damaged beyond repair, it’s time to get a replacement. Simply order a new pump online or visit your local appliance store.
Disassembling a washing machine pump may seem like a daunting task, but with this step-by-step guide, you can do it yourself. Just remember to take your time, follow each step carefully, and use the appropriate tools. Once you have replaced the pump, you can enjoy a properly functioning washing machine again, saving you both time and money. Happy repairing!
- Tools Needed for Disassembling a Washing Machine Pump
- 1. Screwdrivers
- 2. Pliers
- 3. Wrenches
- 4. Needle-nose pliers
- 5. Bucket or container
- Step 1: Turn off the Power and Water Supply
- Preparing the Workspace
- Gathering the Necessary Tools
- Step 2: Locate the Washing Machine Pump
- Step 3: Remove the Pump Access Panel
- Step 4: Disconnect the Hoses and Electrical Connections
- Step 5: Disassemble the Washing Machine Pump
- Video on the topic
- Washer Not Draining? Drain Pump Replacement #DC31-00054D
- Washer Won’t Drain? – How to Unclog Your Drain Pump – DIY Tutorial
- Electrolux Front-Load Washer Drain Pump Assembly Replacement (part 5304514775)
- SAMSUNG WASHER NOT DRAINING – STEP BY STEP DRAIN PUMP REPLACEMENT
- Answers to frequently asked questions
Tools Needed for Disassembling a Washing Machine Pump

Before you begin disassembling the pump of your washing machine, it’s important to gather the necessary tools to make the process easier and more efficient. Here are the essential tools you will need:
1. Screwdrivers
Various types and sizes of screwdrivers will be needed to remove the screws that secure the pump in place. It’s recommended to have both Phillips and flat-head screwdrivers in your toolkit.
2. Pliers

Pliers are useful for gripping and turning parts during the disassembly process. You may need them to disconnect tubing or clamp connections.
3. Wrenches
Depending on the make and model of your washing machine, you may require wrenches to loosen or tighten bolts or nuts that keep the pump in place. Adjustable wrenches are particularly handy as they can fit different sizes.
4. Needle-nose pliers
Needle-nose pliers are useful for reaching into small or tight spaces. They can be used to remove small fasteners or gripping parts that are difficult to grab with regular pliers.
5. Bucket or container
Having a bucket or container nearby is essential for collecting any water that may be inside the pump or hoses. It will help prevent any mess or spills during the disassembly process.
With these tools on hand, you will be well-equipped to disassemble the pump of your washing machine and perform any necessary repairs or maintenance.
Step 1: Turn off the Power and Water Supply

Before starting the disassembly process, it is crucial to disconnect the power supply to ensure your safety. Locate the washing machine’s power cord and unplug it from the electrical outlet. This will prevent any accidental electrical shocks while working on the machine.
Additionally, it’s important to turn off the water supply to the washing machine to avoid any potential leaks or water damage. Locate the water supply valves behind the washing machine, typically located on the wall. Rotate the valves clockwise to shut off the water flow.
Preparing the Workspace
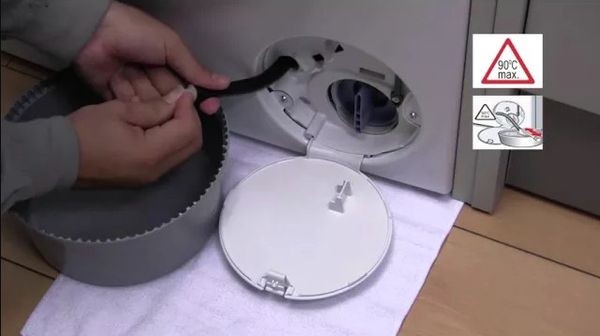
Now that the power and water supply are disconnected, it’s important to prepare your workspace for the disassembly process. Clear any nearby objects or obstacles to ensure easy access to the washing machine. It’s also a good idea to lay down a protective covering, such as a plastic sheet or old towels, on the floor to catch any water or debris that may fall during the disassembly.
Gathering the Necessary Tools
Before starting the disassembly, gather all the necessary tools you’ll need for the job. This may include a screwdriver, pliers, socket wrenches, and any other tools specific to your washing machine model. Having all the tools readily available will make the process smoother and help avoid any delays or frustrations.
Step 2: Locate the Washing Machine Pump
Locating the washing machine pump is an important step in the disassembly process. The pump is responsible for draining the water from the machine, so finding it is crucial for troubleshooting and repairing any issues.
Here’s how you can locate the washing machine pump:
- Make sure the washing machine is unplugged and fully powered off.
- Refer to the user manual or manufacturer’s website for information on the location of the pump. Different models may have the pump in different areas.
- If the pump is not clearly visible from the outside, you may need to remove the back panel of the washing machine. This can usually be done by unscrewing the screws holding the panel in place.
- Once the back panel is removed, locate the pump near the bottom of the machine. It is usually connected to the drain hose.
- Take note of how the pump is attached to the machine and any connections to other components, such as the motor or the hoses.
- Before proceeding with the disassembly, it may be helpful to take pictures or make notes of the pump’s position and connections. This will make reassembling the machine easier.
Now that you have successfully located the washing machine pump, you are ready to move on to the next step of the disassembly process.
Step 3: Remove the Pump Access Panel

Before you can remove the pump from your washing machine, you first need to locate and remove the pump access panel. The pump access panel is typically located at the front or back of the washing machine, depending on the model.
To remove the pump access panel, follow these steps:
1. Unplug the washing machine: Before you begin any disassembly, it’s important to unplug the washing machine from the power source. This will help prevent any accidental electrical shocks or injuries while you work.
2. Locate the pump access panel: Look for a small rectangular panel near the bottom of the washing machine. This panel is usually held in place with screws or clips. Refer to your washing machine’s manual or online guides for specific instructions on locating the pump access panel for your model.
3. Remove the screws or clips: Once you have located the pump access panel, use a screwdriver or a tool appropriate for your washing machine’s clips to remove any screws or clips holding the panel in place. Carefully set aside the screws or clips in a safe place, as you will need them later to reassemble the pump access panel.
4. Take off the pump access panel: Once the screws or clips have been removed, gently pull the pump access panel away from the washing machine. Be careful not to force it or damage any surrounding components. If the panel feels stuck, double-check for any screws or clips that may still be holding it in place.
5. Set aside the pump access panel: Place the pump access panel in a clean and safe area. You may want to cover it with a cloth or towel to protect it from any dirt or debris.
With the pump access panel removed, you are now ready to proceed with the next steps of disassembling the washing machine pump.
Step 4: Disconnect the Hoses and Electrical Connections

Before disassembling the washing machine pump, you will need to disconnect the hoses and electrical connections. This step is crucial to ensure a safe and successful disassembly process.
First, locate the water supply hoses connected to the pump. These hoses are usually made of rubber and attached with hose clamps. Use a pair of pliers or a wrench to loosen the hose clamps, and then slide them away from the hoses.
Once the hose clamps are loosened, carefully pull the hoses away from the pump. Be prepared for some water to spill out when you remove the hoses, so make sure to place a towel or a bucket underneath to catch any water that may come out.
Next, you will need to disconnect the electrical connections. Start by unplugging the washing machine from the power source to ensure your safety. Then, locate the electrical connections that are attached to the pump. These connections are usually secured with plastic connectors or screws.
If there are plastic connectors, gently squeeze the sides of the connectors and pull them apart to disconnect the wires. If there are screws, use a screwdriver to remove them and carefully pull apart the wires.
Once you have disconnected both the hoses and electrical connections, you are now ready to proceed with the disassembly of the washing machine pump.
Note: It is important to follow safety precautions and refer to the washing machine’s manual for specific instructions on disconnecting the hoses and electrical connections. If you are unsure or uncomfortable with this step, it is recommended to seek professional assistance.
Step 5: Disassemble the Washing Machine Pump

Before you start disassembling the washing machine pump, make sure that you have already disconnected the power supply and water sources from the machine. Safety should always be your top priority.
To begin disassembling the washing machine pump, look for the mounting screws or clips that secure it to the machine’s base. Depending on the specific model of your washing machine, these screws or clips may be located either at the front or back of the pump.
Once you have located the mounting screws or clips, use a suitable screwdriver or pliers to carefully remove them. Set aside the screws or clips in a safe place, as you will need them to reassemble the pump later.
After the mounting screws or clips have been removed, gently lift the pump from its position. Be cautious, as the pump may still be connected with hoses or wires that need to be disconnected.
Next, identify the hoses or wires that are connected to the pump and carefully disconnect them. Keep in mind that some hoses may still contain water, so be prepared to catch any spills or use towels to soak up the water.
Once all hoses and wires have been disconnected, you can proceed to disassemble the pump itself. Carefully examine the pump for any additional screws or clips that may be holding it together. Some pumps may also have a cover or housing that needs to be removed before accessing the internal components.
Use the appropriate tools to remove any remaining screws or clips and open up the pump. Take note of how the different components are arranged and their positions, as this will help you during reassembly.
Once you have disassembled the pump, you can clean the individual components, inspect them for any damage, and replace any worn-out parts if necessary. Refer to the manufacturer’s instructions or consult a professional if you are unsure about the condition of any specific part.
Remember to keep all the disassembled parts organized and in a safe place to avoid losing or mixing them up. Taking pictures or making notes during the disassembly process can also be helpful for reference during reassembly.
Congratulations! You have successfully disassembled the washing machine pump. In the next step, we will guide you through the process of cleaning and maintaining the pump components.
Video on the topic
Washer Not Draining? Drain Pump Replacement #DC31-00054D
Washer Won’t Drain? – How to Unclog Your Drain Pump – DIY Tutorial
Electrolux Front-Load Washer Drain Pump Assembly Replacement (part 5304514775)
SAMSUNG WASHER NOT DRAINING – STEP BY STEP DRAIN PUMP REPLACEMENT
Answers to frequently asked questions
Read more practical tips and expert opinions about modern devices at appliances-news.com. Here you will find answers to questions about any technology.