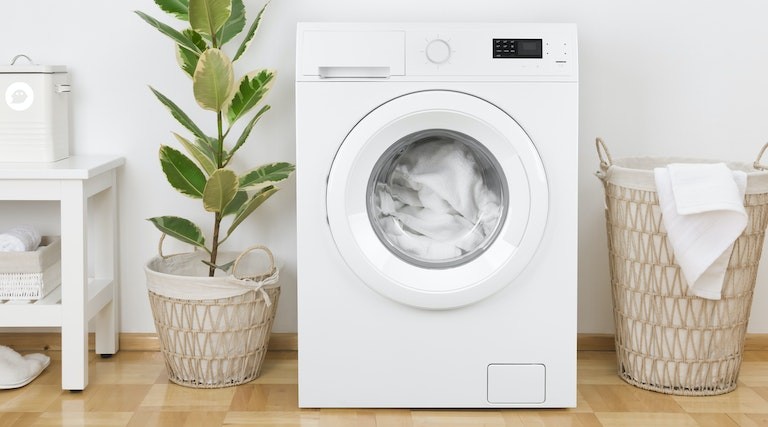
If you’re experiencing issues with your washing machine not draining properly, it’s possible that you have a faulty pump. The washing machine pump is responsible for removing the dirty water from the tub during the drain cycle. In this step-by-step guide, we’ll show you how to connect a washing machine pump to get your appliance up and running smoothly again.
Before we begin, it’s important to note that working with electrical components can be dangerous. Make sure to unplug your washing machine and wear protective gloves before proceeding with any repairs or maintenance.
Step 1: Locate the pump
The first step in connecting a washing machine pump is to locate it. The pump is usually located at the bottom of the washing machine, near the drain hose. Look for a small plastic or metal component that has electrical wires connected to it.
Tip: Consult your owner’s manual or search online for the specific location of the pump in your model of washing machine.
Step 2: Disconnect the old pump
Once you have located the pump, carefully disconnect the electrical wires attached to it. Use a screwdriver or pliers to remove any screws or clips holding the pump in place. Slowly pull the pump away from the washing machine, being careful not to damage any other components.
Step 3: Connect the new pump
Next, take your new washing machine pump and align it with the mounting holes in the washing machine. Connect the electrical wires to the corresponding terminals on the pump, making sure they are securely attached. Use screws or clips to secure the pump in place.
Note: It’s recommended to use new screws or clips when connecting the pump to ensure a secure and stable connection.
Step 4: Test the pump
Once the new pump is securely connected, carefully plug in the washing machine and turn it on. Run a test cycle to check if the pump is working properly. Listen for any unusual noises or vibrations that may indicate a problem. If everything looks and sounds good, you have successfully connected a washing machine pump!
By following these step-by-step instructions, you can easily connect a washing machine pump and resolve issues with drainage. However, if you are unsure or uncomfortable with performing these repairs yourself, it’s always best to consult a professional technician to avoid any further damage to your washing machine.
Disclaimer: The information provided in this guide is for informational purposes only. We do not guarantee the accuracy or effectiveness of these instructions. Proceed at your own risk.
- Gather the necessary tools and materials
- Turn off the power to the washing machine
- Locate the old pump and remove it
- Step 1: Turn off the power
- Step 2: Unplug the washing machine
- Step 3: Locate the pump
- Step 4: Disconnect the pump
- Step 5: Remove the old pump
- Prepare the new pump for installation
- 1. Gather the necessary tools
- 2. Turn off the power
- 3. Disconnect the old pump
- 4. Inspect the new pump
- 5. Clean the pump area
- Connect the new pump to the washing machine
- Test the pump to ensure proper functioning
- Gather the necessary materials
- Perform the pump test
- Secure the pump in place and turn on the power
- Step 1: Position the pump
- Step 2: Secure the pump
- Step 3: Connect the power supply
- Step 4: Turn on the power
- Video on the topic
- How to Replace the Pump on a Washing Machine (Bosch)
- How to Replace the Pump on an LG Washing Machine
- Electrolux Front-Load Washer Drain Pump Assembly Replacement (part 5304514775)
- LG – Front Load Washer Machine – Code OE – Step By Step Guild to Replace Drain Pump MODEL WM3670HVA
- Answers to frequently asked questions
Gather the necessary tools and materials

Before you begin connecting a washing machine pump, make sure you have all the necessary tools and materials. Having everything prepared in advance will help you complete the task more efficiently. Here is a list of items you will need:
| 1. | Adjustable wrench |
| 2. | Phillips screwdriver |
| 3. | Flathead screwdriver |
| 4. | Pliers |
| 5. | Bucket or container |
| 6. | New washing machine pump |
| 7. | Hose clamps |
| 8. | Teflon tape |
| 9. | Replacement hoses (if necessary) |
Make sure to have these tools and materials readily available before you start the process of connecting the washing machine pump. This will save you time and frustration, allowing you to efficiently complete the task at hand.
Turn off the power to the washing machine

Before connecting the washing machine pump, it is crucial to ensure the power is turned off. This step is essential for your safety as well as preventing any damage to the machine during the process.
To turn off the power:
- Unplug the washing machine from the power outlet. This will ensure that no electricity is flowing to the machine.
- Locate the circuit breaker panel in your house. It is usually found in the basement, utility room, or the garage.
- Open the circuit breaker panel by removing the cover.
- Find the circuit breaker that controls the power supply to the washing machine. This is typically labeled and may be marked as “washing machine” or “laundry.”
- Turn off the circuit breaker by flipping the switch to the “off” position. This will cut off the power supply to the washing machine.
Once the power is turned off, you can proceed with connecting the washing machine pump following the manufacturer’s instructions.
Locate the old pump and remove it
Before connecting a new washing machine pump, it is essential to locate the old pump and remove it properly. Follow the step-by-step guide below to ensure a smooth and hassle-free process:
Step 1: Turn off the power

- Start by turning off the power supply to the washing machine. This step ensures your safety while working with electrical components.
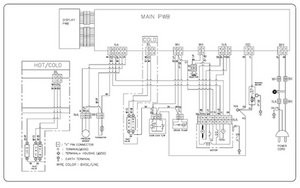
Step 2: Unplug the washing machine
- After turning off the power, unplug the washing machine from the electrical outlet to avoid any potential electrical hazards.
Step 3: Locate the pump

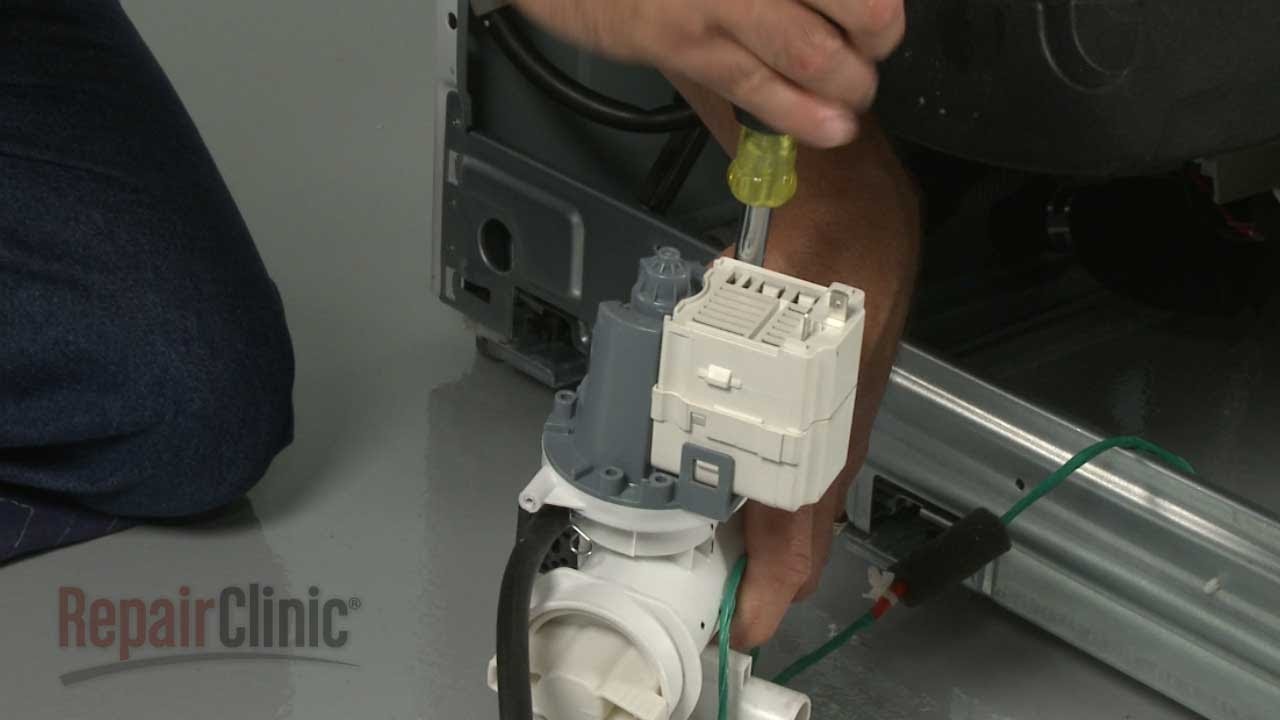
- Once the washing machine is safely disconnected, locate the old pump. It is typically located at the bottom of the machine, near the drain hose.
- You may need to consult the appliance’s manual or refer to online resources specific to your washing machine model to find the exact location of the pump.
Step 4: Disconnect the pump
- Once you have located the pump, you need to disconnect it from the washing machine. This involves removing any screws or fasteners that hold it in place.
- Be cautious while removing the pump to avoid damaging any nearby components or causing any leaks.
Step 5: Remove the old pump

- With the pump disconnected, carefully remove it from the washing machine. Be sure to handle it with care to prevent any damage.
- You may need to wiggle or rotate the pump gently to free it from any remaining connections or seals.
By following the steps above, you will be able to locate the old pump and remove it from your washing machine. This will allow you to proceed with connecting the new pump and ensure the efficient operation of your machine.
Prepare the new pump for installation
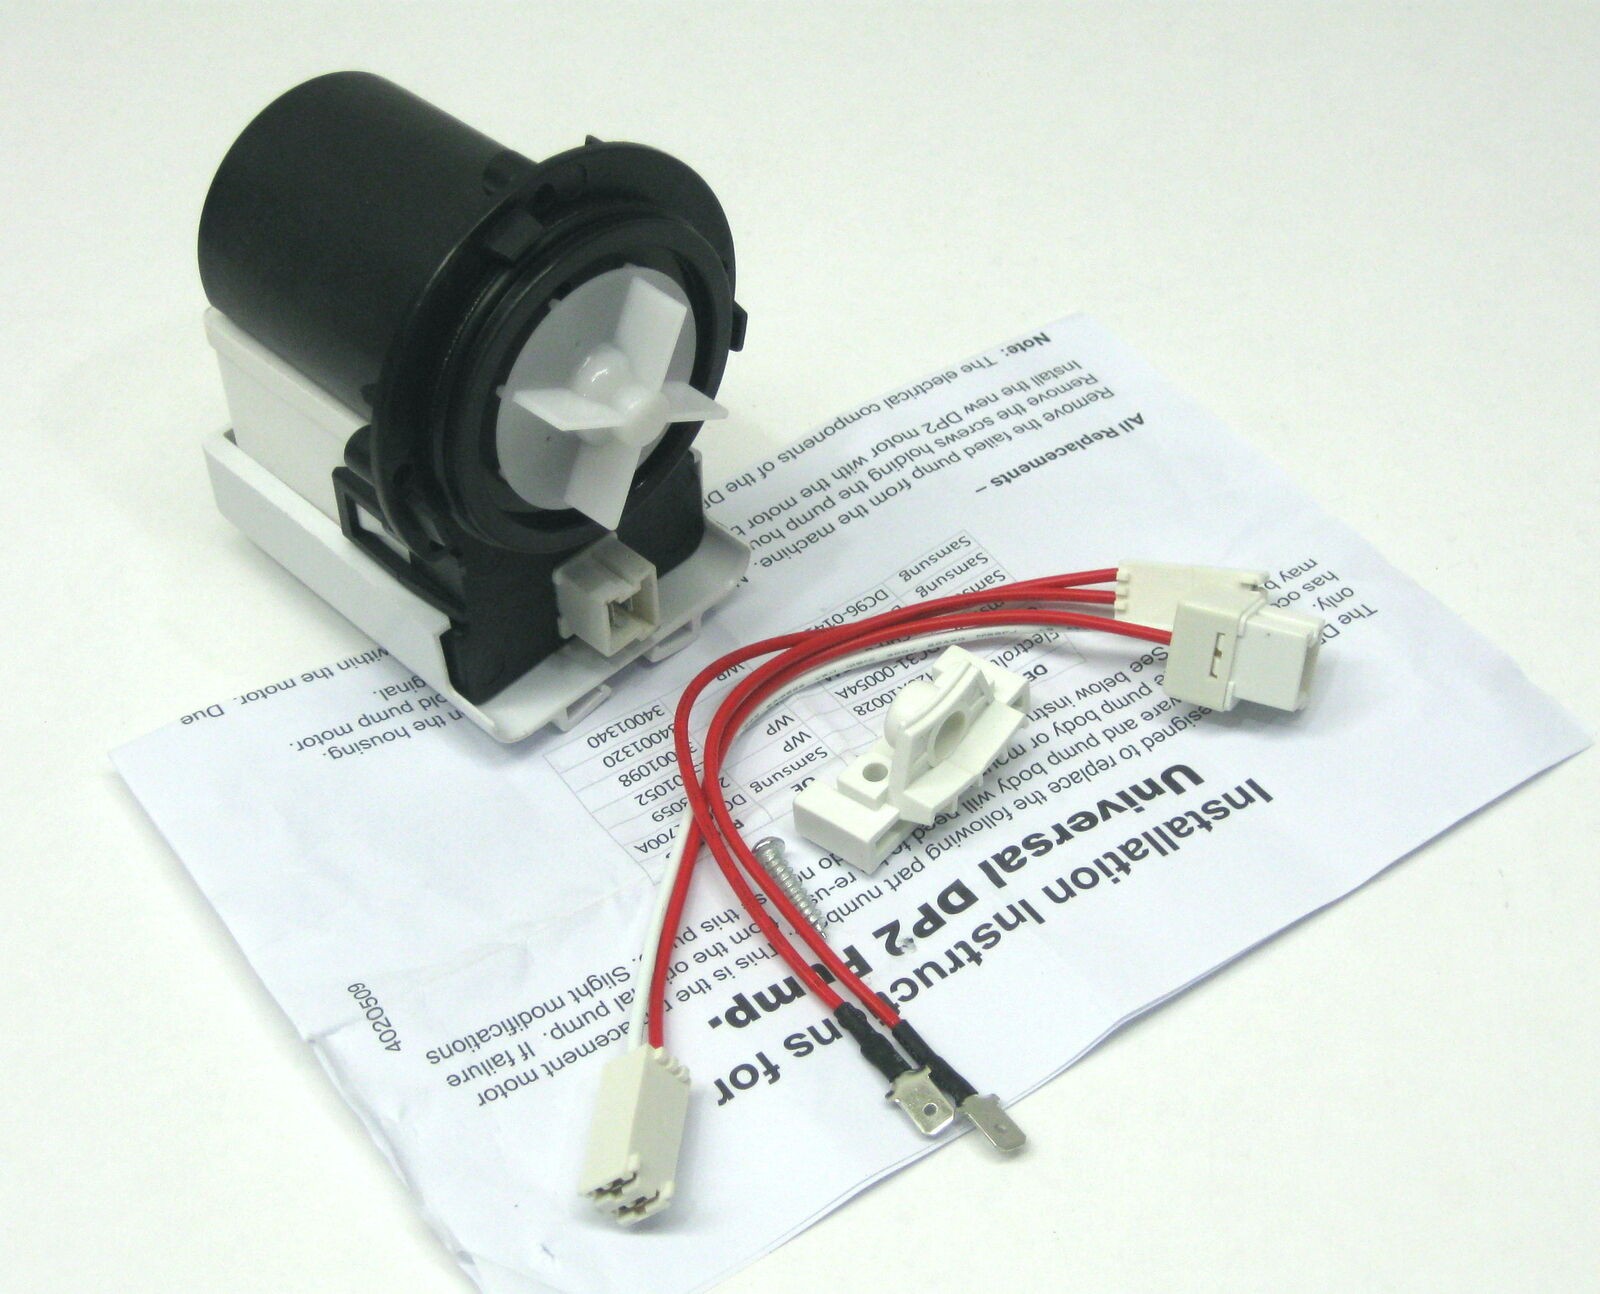
Before installing the new pump for your washing machine, there are a few important steps you need to follow to ensure a successful installation. By properly preparing the new pump, you can avoid potential problems and ensure the longevity of your machine.
1. Gather the necessary tools

Before you begin, gather all the tools you’ll need for the installation. This may include a wrench, screwdriver, pliers, and a bucket to catch any leftover water from the previous pump. Having all the necessary tools in one place will make the process smoother and more efficient.
2. Turn off the power

Before working with any electrical components of your washing machine, it’s crucial to turn off the power supply. Locate the circuit breaker associated with the washing machine and switch it off. This will prevent any electrical accidents during the installation process.
3. Disconnect the old pump
Once the power is off, disconnect the old pump from the washing machine. Depending on your model, this may involve removing screws, disconnecting hoses, or unscrewing clamps. Take your time and carefully follow the manufacturer’s instructions to avoid damaging any parts or causing leaks.
4. Inspect the new pump
Before installing the new pump, take a moment to inspect it for any damage or defects. Check for any cracks, loose or missing parts, or signs of wear and tear. If there are any issues with the new pump, contact the manufacturer or return it for a replacement.
5. Clean the pump area
Use a clean cloth or rag to wipe away any debris or residue from the area where the new pump will be installed. This will ensure a clean and secure connection between the pump and the washing machine. Additionally, check for any blockages or obstructions that could impede the pump’s functionality.
By following these steps to prepare the new pump for installation, you are setting yourself up for a successful and efficient installation process. Taking the time to gather the necessary tools, turn off the power, disconnect the old pump, inspect the new pump, and clean the pump area will help ensure optimal performance and prevent any potential issues.
Connect the new pump to the washing machine
Once you have disconnected the old pump, it is time to connect the new pump to your washing machine. Follow these steps:
1. Take the new pump and inspect it to ensure it is in good condition and free from any damages.
2. Locate the pump outlet on your washing machine. This is usually located at the back of the machine and is marked as the drainage point.
3. Connect one end of the pump hose to the outlet on the washing machine. Make sure it is securely attached and there are no leaks.
4. Now, take the other end of the pump hose and connect it to the inlet on the new pump. Again, ensure that it is securely attached and there are no leaks.
5. If your new pump requires electricity to function, connect the power cord to the appropriate socket on the pump. Make sure the power is switched off before doing this and follow any specific instructions provided by the manufacturer.
6. Once all the connections have been made, double-check for any loose connections or leaks. It is important to ensure everything is properly connected to avoid any water damage or malfunctions.
7. Once you are satisfied with the connections, place the pump in its designated spot in the washing machine and secure it in place according to the manufacturer’s instructions.
Now, your new pump should be properly connected to your washing machine and ready to use. Remember to test it before actually starting a wash cycle to ensure it is functioning correctly.
Test the pump to ensure proper functioning

Once you have successfully installed the washing machine pump, it is important to test it before using the machine. Testing the pump will ensure that it is functioning properly and will prevent any potential issues in the future.
Gather the necessary materials
Before beginning the pump test, gather the following materials:
| 1. A container filled with water |
| 2. Electrical safety gloves |
| 3. Safety goggles |
| 4. A multimeter |
Perform the pump test
To test the pump, follow these steps:
- Put on the electrical safety gloves and safety goggles to protect yourself.
- Fill the container with water.
- Connect the multimeter to the pump’s electrical terminals.
- Turn on the washing machine to activate the pump.
- Observe the multimeter readings. The readings should indicate that the pump is receiving electrical power and functioning properly.
- Listen for any abnormal sounds or vibrations coming from the pump. If you notice any unusual noises or vibrations, it may indicate a problem with the pump.
- If the pump is not functioning properly or if you notice any issues during the test, it is recommended to consult a professional for further assistance.
By testing the pump before using the washing machine, you can ensure that it is in good working condition and avoid any potential problems or damages. Regular maintenance and testing of the pump will help prolong its lifespan and ensure efficient operation of your washing machine.
Secure the pump in place and turn on the power
Once you have successfully connected the hoses and ensured proper drainage for your washing machine pump, it’s time to secure the pump in place and turn on the power.
Step 1: Position the pump
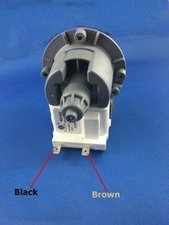
Place the pump in the designated area near the washing machine. Ensure that it is leveled and stable to prevent any vibrations or movements during operation. This will help reduce noise and increase the efficiency of the pump.
Step 2: Secure the pump

Use brackets or screws to secure the pump to the floor or wall, depending on the specific instructions provided by the manufacturer. This will ensure that the pump remains in place and does not shift during operation.
Note: It is important to follow the manufacturer’s instructions carefully, as different models may have specific requirements for securing the pump.
Step 3: Connect the power supply
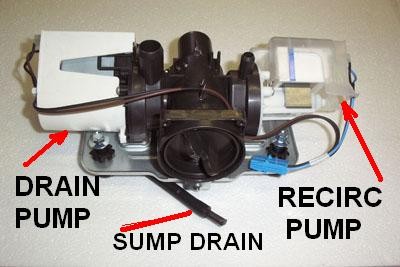
Locate the power cord of the washing machine pump and plug it into a nearby electrical outlet. Ensure that the outlet is grounded and can handle the power requirements of the pump.
Caution: Make sure to keep the power cord away from water or any wet surfaces to avoid electrical hazards.
Step 4: Turn on the power

Once the pump is securely in place and the power cord is connected, locate the power switch or button on the pump. Turn it on to activate the pump.
Tip: It is recommended to run a test cycle to ensure that the pump is working properly before using it for a regular laundry load.
By following these steps, you can securely install and activate a washing machine pump, allowing for efficient drainage and reliable performance.
Video on the topic
How to Replace the Pump on a Washing Machine (Bosch)
How to Replace the Pump on an LG Washing Machine
Electrolux Front-Load Washer Drain Pump Assembly Replacement (part 5304514775)
LG – Front Load Washer Machine – Code OE – Step By Step Guild to Replace Drain Pump MODEL WM3670HVA
Answers to frequently asked questions
Read more practical tips and expert opinions about modern devices at appliances-news.com. Here you will find answers to questions about any technology.