Are you facing a problem with your Candy washing machine and need to disassemble it for repair or maintenance? Don’t worry, we’ve got you covered! In this step-by-step guide, we will walk you through the process of disassembling a Candy washing machine so that you can easily access and fix any issues that may arise.
Step 1: Preparation
Before you begin, make sure to turn off the power supply and unplug the washing machine. Safety first! You should also gather a few tools that will come in handy during the disassembly process. These include a screwdriver, pliers, and a socket wrench.
Step 2: Removing the top panel
Start by removing the screws located at the back of the top panel. Once the screws are removed, you can gently slide the panel towards the back and lift it off. Keep the screws in a safe place to avoid losing them.
Step 3: Taking off the control panel
Next, locate the screws that are holding the control panel in place. Depending on the model of your Candy washing machine, you may need to remove plastic caps or decorative covers to access the screws. Use your screwdriver to remove the screws and carefully lift off the control panel.
Step 4: Detaching the front panel
With the control panel out of the way, you can now remove the screws that are holding the front panel to the washing machine. Once the screws are removed, gently pull the front panel forward and lift it off. Be careful not to damage any wiring connections between the front panel and the main body.
Step 5: Accessing the internal components
Now that you have removed the top and front panels, you should have easy access to the internal components of the washing machine, such as the drum, motor, and pump. Take this opportunity to inspect and clean these parts or make any necessary repairs.
Remember to refer to your Candy washing machine’s user manual for specific instructions or precautions related to disassembly. Following these steps carefully will help you disassemble your Candy washing machine safely and efficiently.
- Step 1: Preparation
- Turn off the power supply
- Gather the tools
- Take pictures or make notes
- Clear the area
- Step 2: Disconnecting the Power
- Safety Tip:
- Step 3: Removing the Control Panel
- Note:
- Step 4: Accessing the Drum
- Step 5: Removing the Drum
- Step 6: Disassembling the Motor
- Tools Needed:
- Procedure:
- Video on the topic
- Candy Washing Machine Won’t Start? Here’s What To Do!
- Answers to frequently asked questions
Step 1: Preparation

Before you begin the disassembly process, it’s important to gather the necessary tools and take some precautionary measures. Follow these steps to prepare:
-
Turn off the power supply
Make sure to unplug the washing machine from the power outlet to avoid any electrical hazards. This will also prevent any mishaps while working on the machine.
-
Gather the tools

You will need a set of basic tools to disassemble the Candy washing machine. These include a screwdriver, pliers, adjustable wrench, and possibly a socket set. Having these tools handy will make the disassembly process much easier.
-
Take pictures or make notes
It’s always helpful to take pictures or make notes of the current setup of the machine. This will help you during the reassembly process, ensuring that you put everything back in its place correctly.
-
Clear the area

Make sure you have enough space to work comfortably. Clear the surrounding area of any obstacles or items that may interfere with the disassembly process.
By following these preparation steps, you will be ready to safely and efficiently disassemble your Candy washing machine.
Step 2: Disconnecting the Power
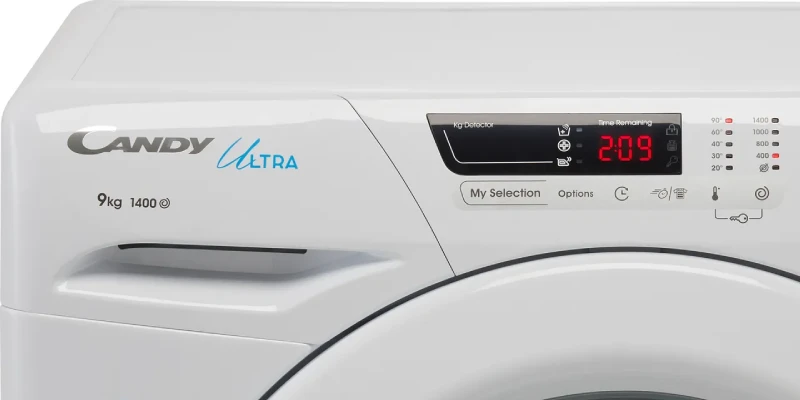
Before starting any disassembly process, it is extremely important to disconnect the power supply to the washing machine. This step should never be skipped, as it ensures your safety during the entire disassembly process.
To disconnect the power, follow these steps:
- Locate the power cord at the back of the machine. It is usually located towards the bottom of the rear panel.
- Unplug the power cord from the wall socket. This will completely cut off the power supply to the machine.
- Double-check that the machine is not receiving any power by turning it on and off. If it does not respond, it means the power has been successfully disconnected.
Make sure to keep the power cord and plug in a safe and easily accessible place, as you will need to reconnect them once the disassembly process is complete.
Safety Tip:
Even though the power has been disconnected, it is always a good practice to use gloves and safety goggles to protect yourself from any sharp edges or electrical components inside the washing machine.
Step 3: Removing the Control Panel
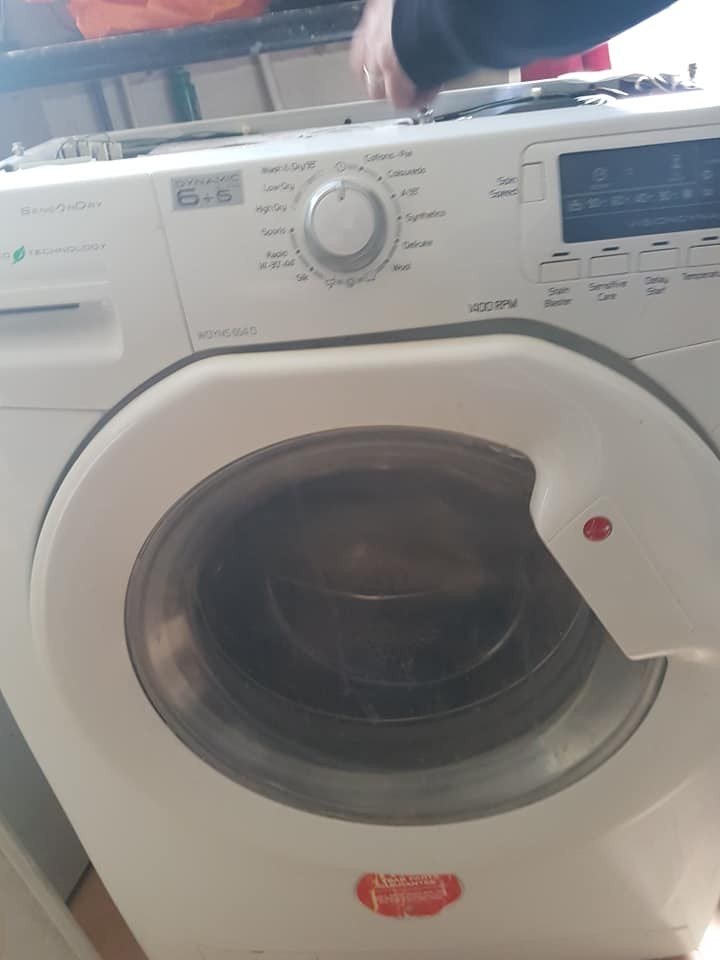
Once you have disconnected the power supply and removed the top and back panels of your Candy washing machine, you can move on to removing the control panel. The control panel is located at the top front of the machine and is held in place by a few screws.
To remove the control panel, follow these steps:
- Locate and remove the screws that are holding the control panel in place. These screws are usually located at the top or along the edges of the control panel.
- Once the screws are removed, gently lift up the control panel to expose the wiring connections beneath.
- Take note of the wiring connections, as you will need to reconnect them later. Using a small screwdriver or a pair of pliers, carefully disconnect the wiring harnesses from the control panel. It’s important to handle the wires with care to avoid causing any damage.
- Once the wiring connections are disconnected, you can completely lift off the control panel and set it aside.
It’s a good idea to take photos or make note of the wiring connections before disconnecting them, so you can refer back to them when reconnecting the control panel later.
Note:

Be sure to handle the control panel with care, as it is a delicate part of the washing machine. Avoid applying excessive force or dropping it, as this can cause damage.
| Tool | Material |
|---|---|
| Screwdriver | Small pliers |
Step 4: Accessing the Drum
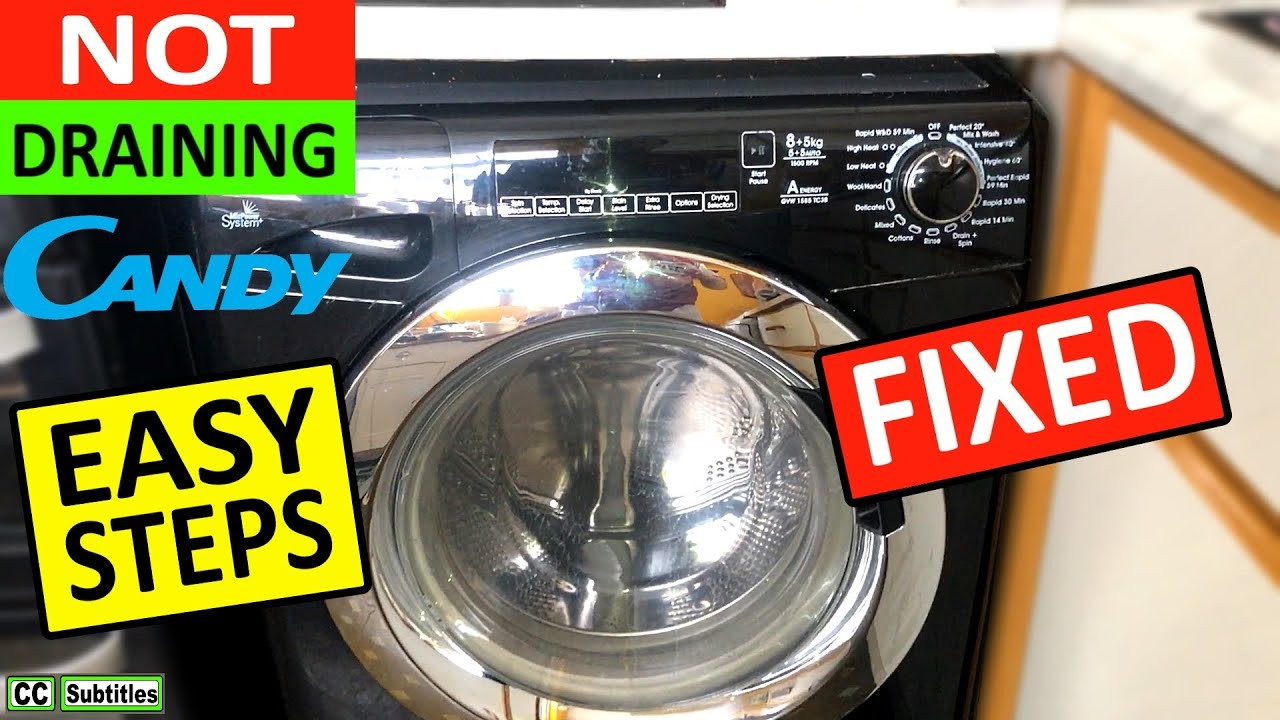
Once you have removed the back panel of the Candy washing machine, you will have access to the drum. In this step, we will guide you on how to safely access the drum for further disassembly.
Warning: Before proceeding with this step, make sure you have unplugged the machine from the power source and turned off the water supply.
1. Locate the belt that connects the motor to the drum. It is usually located at the bottom of the machine.
2. Use a wrench or a socket set to loosen the tension on the belt. Slide the belt off the motor pulley and set it aside.
3. Next, you will need to remove the motor from its mounting bracket. The motor is usually attached to the bracket with screws or bolts. Use a screwdriver or a wrench to remove these fasteners.
4. Once the motor is detached from the bracket, carefully lower it down without disconnecting any wires. You may need someone to assist you with this step to ensure the motor is handled properly.
5. With the motor out of the way, you should now have a clear view of the drum. Take a moment to inspect the drum for any visible signs of damage or wear.
Note: If there are any obstructions preventing you from accessing the drum, such as wiring or hoses, carefully remove them to gain full access.
6. Now that you have accessed the drum, you can proceed to the next step of disassembling the Candy washing machine.
Step 5: Removing the Drum

Once you have removed the outer casing and disconnected any electrical connections, it’s time to remove the drum from your Candy washing machine. The drum is where the clothes are placed for washing, so it’s important to handle it carefully.
To remove the drum, start by locating the bolts or screws that are holding it in place. These are usually found at the back or top of the machine. Use a screwdriver or wrench to carefully loosen and remove these fasteners.
Next, gently lift the drum up and out of the machine. Be cautious as the drum may be heavy, especially if there are clothes or water still inside. If necessary, drain any remaining water from the drum before attempting to lift it out.
Once the drum is out, place it on a clean and secure surface. This will prevent any damage to the drum or the floor. Inspect the drum for any signs of wear or damage, such as cracks or sharp edges. If you notice any issues, it may be necessary to replace the drum before reassembling the washing machine.
Remember to keep all the bolts, screws, and other small parts in a safe place to ensure they aren’t lost during the disassembly process. You can use small plastic bags or containers to keep them organized.
Now that the drum is removed, you can proceed to the next step in disassembling your Candy washing machine.
Step 6: Disassembling the Motor
Before proceeding with the disassembly of the motor, it is important to ensure that the washing machine is disconnected from the electrical supply. Safety should always be a priority when working with electrical components.
Tools Needed:
Prepare the following tools before starting the disassembly:
- Phillips head screwdriver
- Flat head screwdriver
- Adjustable wrench
Procedure:
Follow these steps to disassemble the motor of the Candy washing machine:
| Step | Description |
|---|---|
| 1 | Remove the back panel of the washing machine using a Phillips head screwdriver. Set the screws aside. |
| 2 | Locate the motor at the bottom of the washing machine. It is usually attached to the drum and surrounded by wires. |
| 3 | Use an adjustable wrench to disconnect the motor from the drum by loosening the bolts or screws that secure it in place. Keep track of the bolts or screws for reassembly. |
| 4 | Next, disconnect the wires from the motor. Take note of the wire connections to ensure correct reassembly later. |
| 5 | Once the motor is disconnected from the drum and wires, carefully lift it out of the washing machine. Be cautious of any remaining wires or cables that may still be attached. |
| 6 | Place the motor in a safe location where it won’t be damaged or accidentally bumped. |
With the motor successfully disassembled, you can now proceed with any repairs or replacements that may be necessary. Refer to the manufacturer’s instructions or seek professional assistance if needed.
Video on the topic
Candy Washing Machine Won’t Start? Here’s What To Do!
Answers to frequently asked questions
Read more practical tips and expert opinions about modern devices at appliances-news.com. Here you will find answers to questions about any technology.