If your Indesit washing machine is making loud noises during operation or if it’s not spinning properly, it’s possible that the drum needs to be replaced. The drum is an essential component of the washing machine and over time, it can become worn or damaged. Replacing the drum can help restore the smooth and efficient operation of your washing machine.
Step 1: Safety First
Before you begin replacing the drum, make sure to turn off the power supply to the washing machine and unplug it from the wall. This is crucial to ensure your safety while working on the machine. Additionally, it’s a good idea to wear protective gloves and goggles throughout the process.
Step 2: Access the Drum
Start by removing the back panel of the washing machine to gain access to the drum. You may need to use a screwdriver to remove the screws holding the panel in place. Once the panel is off, you should be able to see the drum and its components.
Step 3: Disconnect Components
Next, you’ll need to disconnect the various components attached to the drum. This may include the belt, pulley, and motor. Consult the user manual or look for online resources specific to your Indesit model for detailed instructions on how to disconnect these components safely.
Note: It’s a good idea to take pictures or make note of how the components are connected before disconnecting them. This will make it easier to reassemble everything correctly later on.
Step 4: Remove the Drum
Once all the components are disconnected, you can proceed to remove the drum from the washing machine. This may involve undoing screws or bolts holding the drum in place. Carefully lift the drum out of the machine, taking care not to damage any surrounding components.
Step 5: Install the New Drum
Now it’s time to install the new drum. Place the new drum into the machine and secure it in place using the appropriate screws or bolts. Make sure it is properly aligned and seated before proceeding.
Step 6: Reassemble the Components
Reconnect all the components that were detached in step 3, following the pictures or notes you took earlier. Make sure everything is securely connected and properly tensioned.
Step 7: Test and Clean
Once the drum and components are in place, it’s time to test the washing machine. Plug it back in and turn on the power supply. Run a test cycle to ensure everything is working properly. If everything looks good, replace the back panel and give the machine a thorough cleaning before using it as normal.
Remember, if you’re unsure about any step of the process, it’s best to consult a professional or contact Indesit customer support for assistance. Following these steps carefully can help you replace the drum in your Indesit washing machine and keep it running smoothly for years to come.
- Safety Precautions for Replacing the Drum
- Tools and Equipment Needed to Replace the Drum
- Step 1: Disconnecting and Preparing the Washing Machine
- Step 2: Removing the Outer Tub and Drum Assembly
- Video on the topic
- How to strip down a Washing Machine, Indesit WIL143S step by step
- Washer Bearings replacement involving cutting drum housing on Indesit
- How to replace Indesit Washing Machine Drum Support or Spider How to Fit & Change
- Indesit Washing Machine – How to Use
- Answers to frequently asked questions
Safety Precautions for Replacing the Drum
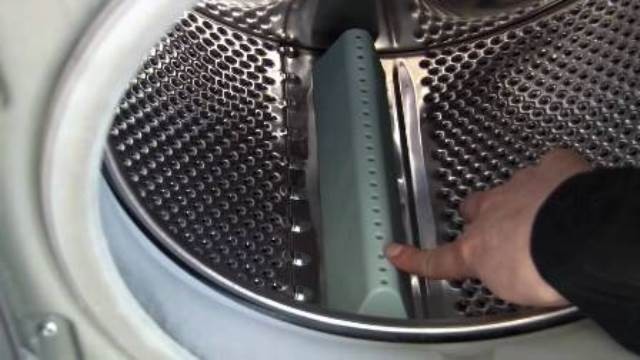
Replacing the drum in an Indesit washing machine can be a complex task that requires careful handling and attention to detail. Before you begin the process, it’s important to take the following safety precautions:
- Disconnect the power supply: Before attempting any repairs or maintenance on your washing machine, always make sure to unplug it from the electrical outlet. This will help prevent the risk of electric shock.
- Wear protective gear: When working on your washing machine, it’s advisable to wear safety goggles, gloves, and other protective gear to protect yourself from any potential injuries or accidents.
- Empty the drum: Before you start replacing the drum, make sure to remove any clothing or items that may be inside the drum. This will help prevent any damage to the clothes or potential hazards during the repair process.
- Read the user manual: Familiarize yourself with the user manual specific to your Indesit washing machine model. This will provide you with important information regarding safety guidelines, tools required, and step-by-step instructions for replacing the drum.
The safety precautions listed above are essential to ensure your personal safety and the proper functioning of your Indesit washing machine. By following these guidelines, you can minimize the risk of accidents or damage during the drum replacement process.
Tools and Equipment Needed to Replace the Drum
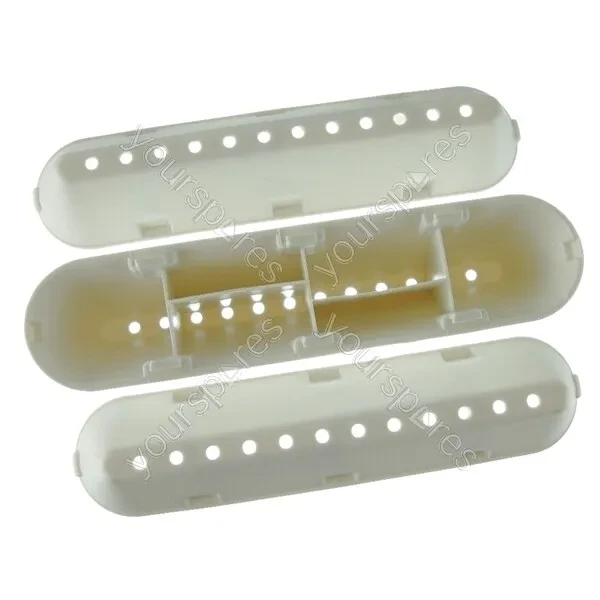
To replace the drum in an Indesit washing machine, you will need the following tools and equipment:
1. Screwdriver: You will need a screwdriver, preferably a Phillips head screwdriver, to remove any screws or bolts holding the drum in place.
2. Wrench: A wrench may be needed to loosen and tighten nuts or bolts securing the drum.
3. Pliers: Pliers can be handy for gripping and maneuvering certain parts during the replacement process.
4. Gloves: Safety gloves will protect your hands from any sharp edges or debris that may be encountered while handling the drum.
5. Replacement Drum: You will need to have a replacement drum specifically designed for your Indesit washing machine model. Ensure that you choose a drum that is compatible with your machine.
6. User Manual: It is recommended to have the user manual for your Indesit washing machine on hand, as it may contain specific instructions or diagrams to assist you during the replacement process.
Note: Depending on the specific model of your Indesit washing machine, additional tools or equipment may be required. Always refer to the user manual or consult a professional for guidance if you are unsure.
Step 1: Disconnecting and Preparing the Washing Machine
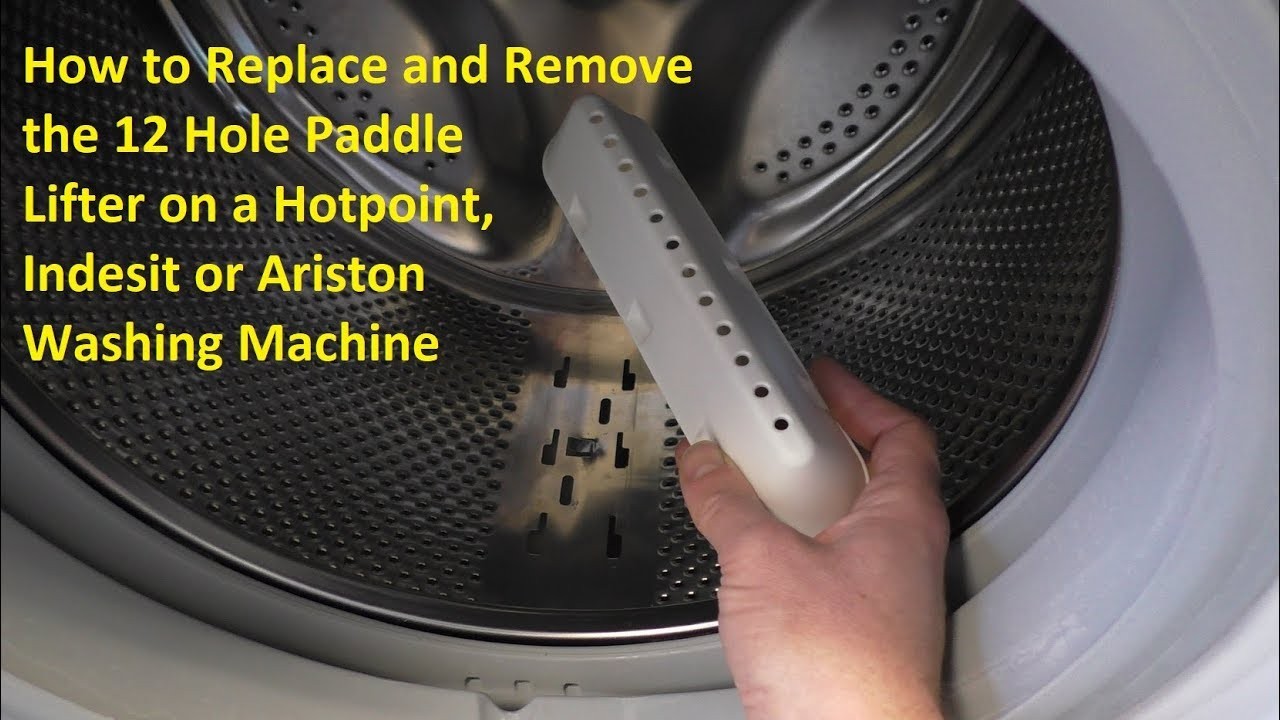
Before replacing the drum in your Indesit washing machine, it is essential to disconnect the machine from the power source to ensure your safety. Follow these steps to disconnect and prepare the washing machine:
- Unplug the washing machine from the power outlet. This will prevent any electrical accidents while working on the machine.
- Turn off the water supply to the washing machine. Locate the water shut-off valve at the back of the machine or the main water supply valve in your home. Shut off the water supply by turning the valve clockwise.
- Turn off the hot and cold water taps connected to the washing machine. This will minimize water leakage during the drum replacement process.
- If necessary, move the washing machine away from the wall to create enough space for you to work comfortably. You may need the help of another person to safely move the machine.
- Place a towel or a plastic sheet underneath the washing machine to catch any water or debris that may come out during the drum replacement process.
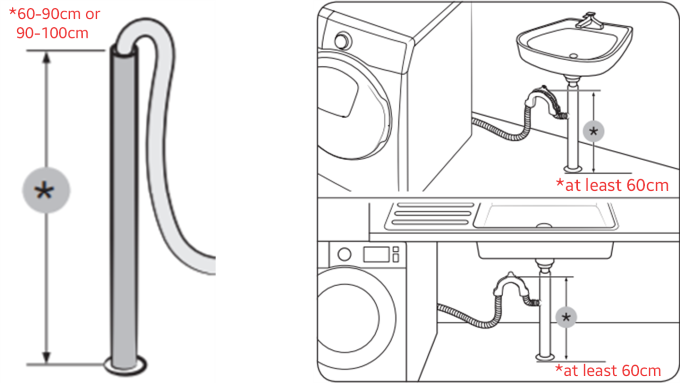
- If your washing machine has a drain hose, position it over a sink or a floor drain to ensure any remaining water in the machine can drain out properly. Alternatively, you can use a bucket or a basin to catch the water.
By following these steps, you will disconnect and prepare your washing machine for the drum replacement. This ensures a safe and efficient replacement process.
Step 2: Removing the Outer Tub and Drum Assembly
Before proceeding with the removal of the outer tub and drum assembly, make sure the washing machine is unplugged from the power source and the water supply has been disconnected.
1. Start by removing any external screws or fasteners that may be holding the front panel or control panel in place. Use a suitable screwdriver or tool to carefully unscrew or unfasten these components.
2. Once the front panel or control panel is removed, locate and remove the retaining spring clips that secure the top panel of the washing machine. These clips can usually be released by using a flathead screwdriver or a specialized tool.
3. With the top panel released, carefully lift it up and set it aside. Take caution not to damage any wiring or connections that may be attached to the top panel.
4. With the top panel removed, locate and remove any remaining screws or fasteners that are securing the outer tub and drum assembly to the washing machine chassis. These screws or fasteners are usually located at the front and rear of the washing machine.
5. Once all screws or fasteners have been removed, carefully lift the outer tub and drum assembly out of the washing machine. Take caution not to damage any wiring, hoses, or connections that may be attached to the assembly.
6. With the outer tub and drum assembly removed, you now have access to the drum. Follow the manufacturer’s instructions for further disassembly or replacement of the drum.
Note: It is recommended to consult the user manual or seek professional assistance if you are unsure about any of the steps mentioned above or if you are not confident in carrying out the repair yourself.
Video on the topic
How to strip down a Washing Machine, Indesit WIL143S step by step
Washer Bearings replacement involving cutting drum housing on Indesit
How to replace Indesit Washing Machine Drum Support or Spider How to Fit & Change
Indesit Washing Machine – How to Use
Answers to frequently asked questions
Read more practical tips and expert opinions about modern devices at appliances-news.com. Here you will find answers to questions about any technology.