
The pressostat is an important component in many appliances, such as washing machines and air compressors. It is responsible for monitoring and controlling the pressure levels, ensuring that the appliance functions properly and efficiently. However, over time, the pressostat may develop faults or wear out, leading to issues with the appliance.
In this step-by-step guide, we will walk you through the process of checking the pressostat to determine if it is working correctly or if it needs to be replaced. It is a relatively simple procedure that can be done with basic tools and some knowledge of how the pressostat functions.
Before we begin, it is important to note that working with electrical appliances can be dangerous. Always ensure that the appliance is unplugged and disconnected from any power source before attempting any repairs or inspections. If you are unsure about any aspect of the process, it is recommended to consult a professional technician.
The first step in checking the pressostat is to locate it within the appliance. In most cases, it is located near the water inlet or inside the control panel. Refer to the appliance’s manual or service guide for specific instructions on finding the pressostat.
Once you have located the pressostat, visually inspect it for any signs of damage, such as cracked casing or loose wires. If you notice any damage, it is likely that the pressostat needs to be replaced. However, if there are no visible issues, you can proceed with further testing.
Next, using a multimeter, set it to the resistance or continuity mode. Carefully disconnect the wires connected to the pressostat, and then connect the multimeter probes to the terminals. The resistance or continuity reading should match the specifications provided in the appliance’s manual. If the reading is significantly different or there is no reading at all, it indicates a faulty pressostat that needs to be replaced.
In conclusion, checking the pressostat is an essential step in troubleshooting and maintaining the proper functioning of appliances. By following this step-by-step guide, you can determine if the pressostat is faulty and needs to be replaced, saving you time and money on unnecessary repairs. Remember to always prioritize safety and consult a professional if you are uncertain or uncomfortable performing any repairs or inspections.
- What is a pressostat and why is it important?
- Tools and equipment needed for checking the pressostat
- 1. Multimeter
- 2. Pressure gauge
- 3. Safety goggles
- Step 1: Turn off the power
- Step 2: Locate the pressostat
- Step 3: Disconnect the pressostat
- Step 4: Check for continuity
- Step 5: Check for continuity under pressure
- Step 6: Reconnect the pressostat and turn on the power
- Video on the topic
- Furnace Pressure Switch Testing
- How HVAC Refrigerant Pressure Switches Work & Troubleshooting!
- How To Use A Multimeter for Home Repairs and Troubleshooting
- How to Jump Pressure Switch on Furnace
- Answers to frequently asked questions
What is a pressostat and why is it important?

A pressostat is an important component in many appliances and machines, particularly in the field of HVAC (heating, ventilation, and air conditioning). It is a type of pressure switch that is used to monitor and control the pressure levels in a system.
The pressostat works by sensing the pressure of a fluid or gas and activating or deactivating a circuit accordingly. It measures the pressure using a diaphragm or a bellows mechanism, which moves in response to changes in pressure. When the pressure exceeds a predetermined set point, the pressostat triggers a switch to turn off the device or activate an alarm.
This device plays a crucial role in maintaining the proper functioning and safety of various systems. For instance, in an HVAC system, the pressostat monitors the pressure of refrigerants and ensures that it’s within safe limits. If the pressure becomes too high or too low, the pressostat can shut down the compressor to prevent damage or leaks.
The pressostat is also essential in controlling the levels of liquid or gas in boilers, water pumps, hydraulic systems, and air compressors. It helps prevent overpressure situations that can lead to accidents, equipment failure, and even explosions.
Overall, the pressostat serves as a vital safety device in various industries and applications. It helps to protect equipment, prevent costly repairs, and ensure the efficient operation of systems. Regular maintenance and testing of the pressostat are necessary to guarantee its accuracy and reliability.
Tools and equipment needed for checking the pressostat
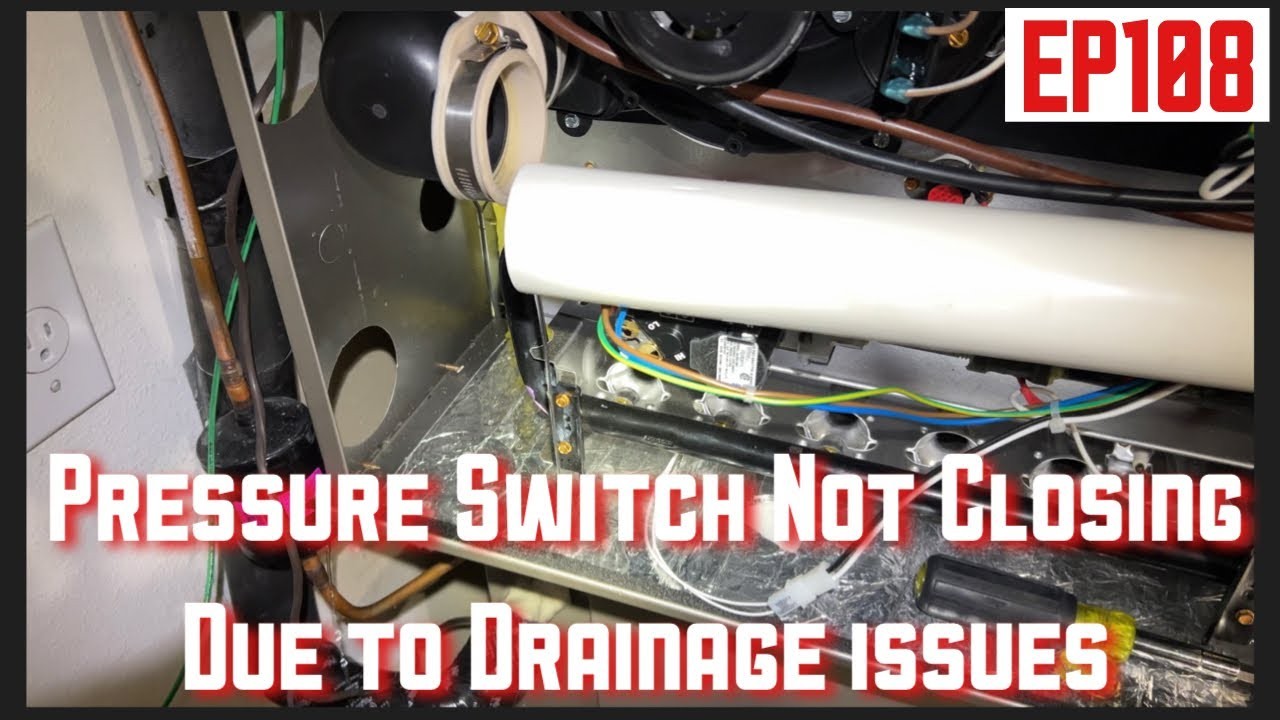
Before checking the pressostat, you will need the following tools and equipment:
1. Multimeter
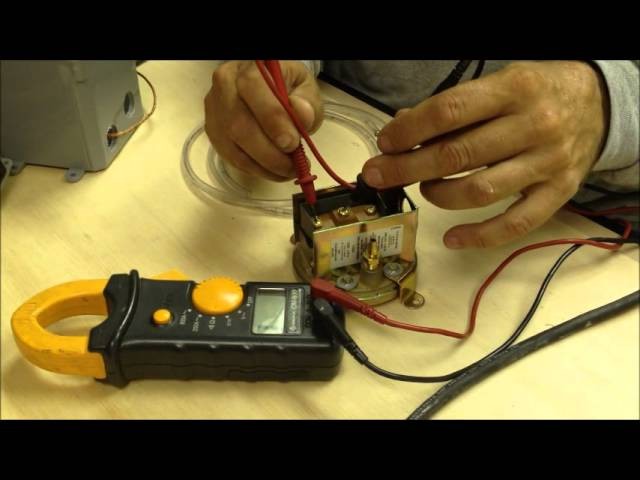
A multimeter is an essential tool for checking the pressostat. It is used to measure electrical values such as voltage, current, and resistance. Make sure the multimeter has leads for measuring continuity as well.
2. Pressure gauge
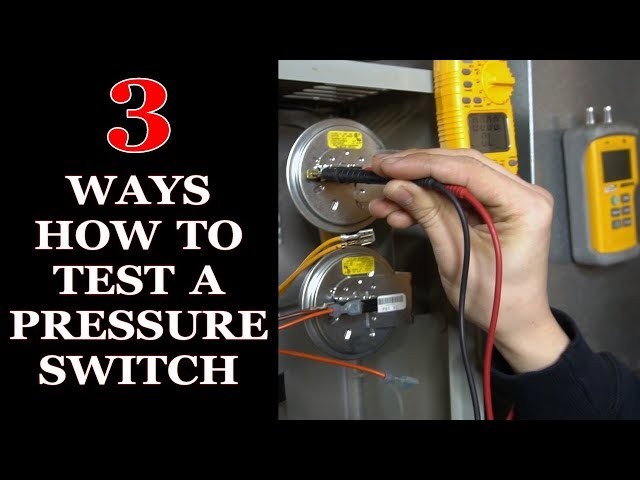
A pressure gauge is required to measure the pressure in the system connected to the pressostat. It is important to choose a gauge that can measure the appropriate pressure range for your specific application.
3. Safety goggles
Safety goggles are necessary to protect your eyes from any potential hazards during the checking process. Pressurized air or fluids could be released, so wearing safety goggles is critical for your personal safety.
Ensure that you have all the necessary tools and equipment mentioned above before proceeding with the pressostat check. This will help you to perform the check accurately and safely.
Step 1: Turn off the power
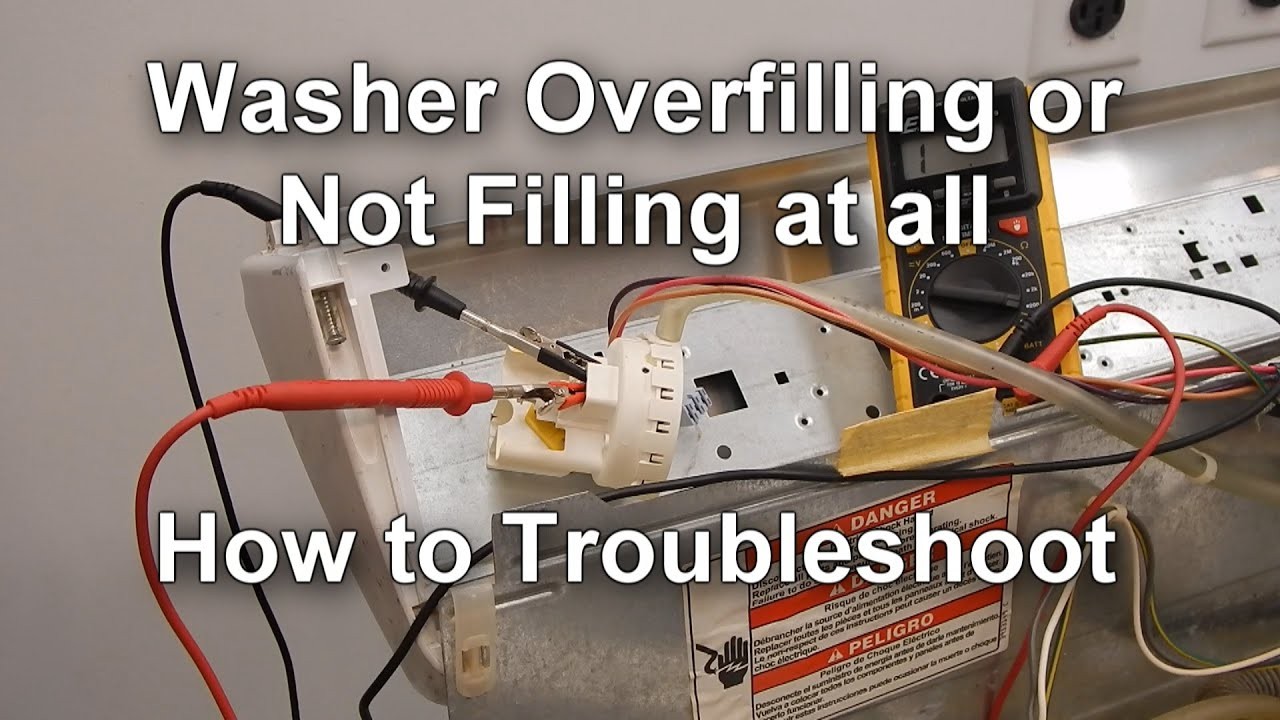
The first step in checking the pressostat is to turn off the power to the system. This is important for safety reasons, as working with live electrical components can be dangerous. Make sure to locate the main power switch or circuit breaker for the system and switch it off before proceeding.
Once the power is turned off, you can proceed with the remaining steps to check the pressostat. It is crucial to follow proper safety procedures and precautions throughout the process.
Step 2: Locate the pressostat
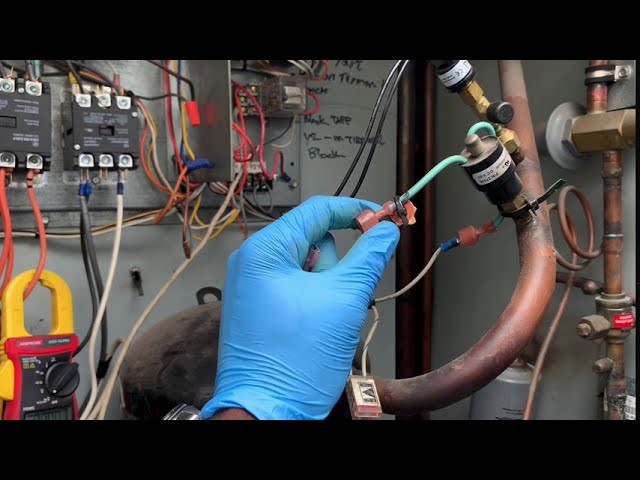
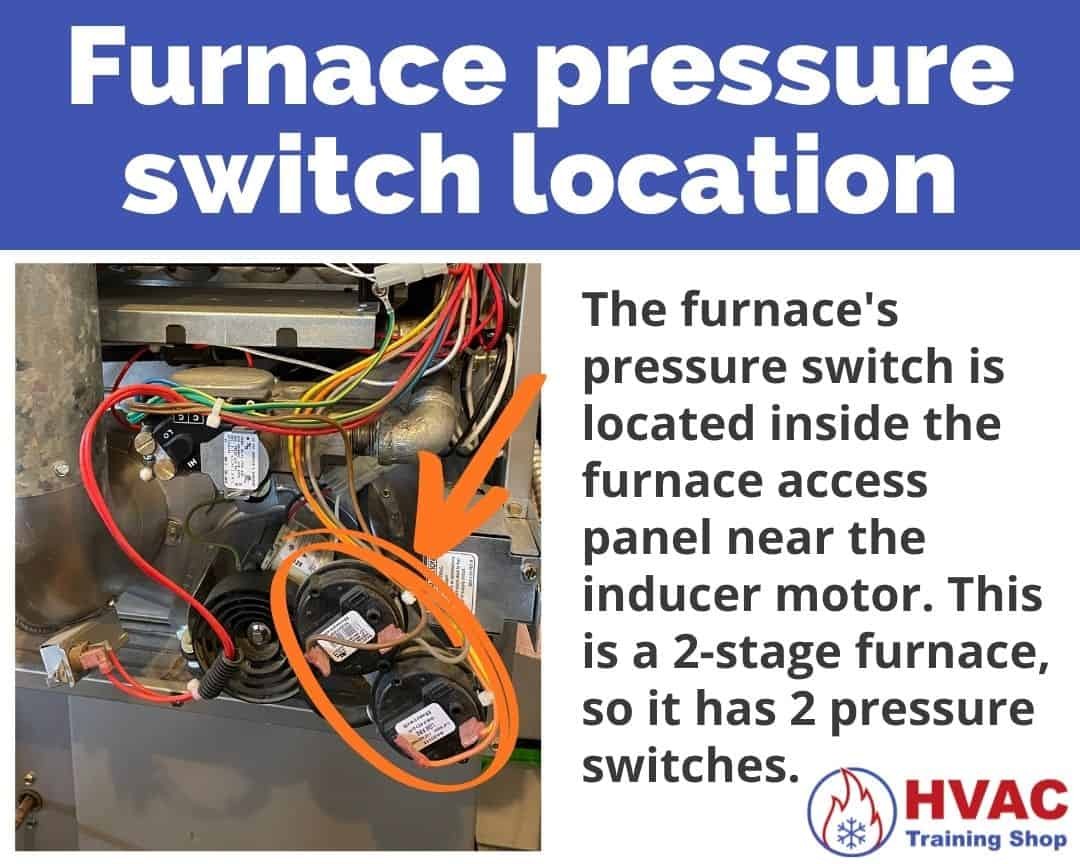
Once you have gathered the necessary tools and equipment, the next step is to locate the pressostat. The pressostat is a small device that is usually located near the compressor in your air conditioning or refrigeration system. It is responsible for monitoring the pressure levels and controlling the operation of the system.
To locate the pressostat, you will need to follow these steps:
| 1. | Turn off the power supply to the air conditioning or refrigeration system. Safety should always be your top priority when working with electrical appliances. |
| 2. | Open the control panel or access panel of your air conditioning or refrigeration system. This may require the use of a screwdriver or other tools, depending on the design of your system. |
| 3. | Locate the compressor. The pressostat is usually installed near the compressor, typically on one of the refrigerant lines. |
| 4. | Identify the pressostat. It is a small, round or rectangular device with electrical connections and pressure sensing ports. |
| 5. | Take note of the pressostat’s model number or any other identifying information. This will be useful when ordering a replacement part, if necessary. |
By following these steps, you should be able to easily locate the pressostat in your air conditioning or refrigeration system. Once you have found it, you can proceed to the next step of the troubleshooting process.
Step 3: Disconnect the pressostat
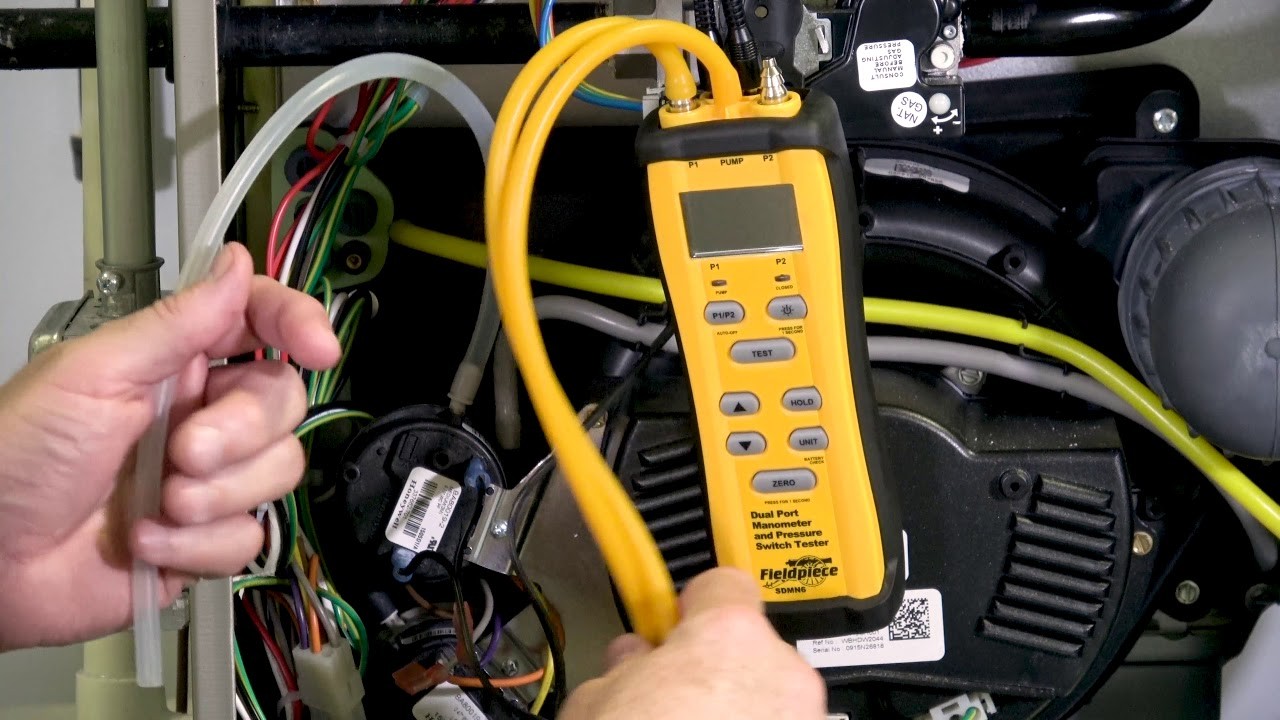
Before disconnecting the pressostat, ensure that the power to the appliance is turned off and that it is unplugged from the electrical outlet. This will help prevent any accidents or electric shocks.
1. Locate the pressostat on your appliance. It is typically a small, cylindrical device with electrical wires connected to it.
2. Carefully examine the pressostat and identify the wires connected to it. You may need to refer to the appliance’s manual or documentation for this information.
3. Using a small wrench or pliers, gently loosen the screws or nuts securing the electrical wires to the pressostat. Take care not to damage the wires or the pressostat while doing this.
4. Once the screws or nuts are loosened, carefully disconnect the electrical wires from the pressostat. You may need to wiggle them gently to remove them completely.
5. Inspect the wires for any signs of damage, such as fraying or burns. If you notice any damage, it is recommended to replace the wires before proceeding further.
6. With the pressostat wires disconnected, you can now proceed with the next steps of checking or replacing the pressostat, as per your requirements.
Remember to exercise caution and follow safety guidelines while working with electrical appliances. If you are unsure or uncomfortable performing any step, it is advisable to seek professional assistance.
Step 4: Check for continuity
Continuity testing is an essential part of checking a pressostat to ensure proper functioning. This test helps to determine if there is a break in the electrical circuit that could be causing the pressostat to malfunction.
To perform the continuity test, follow these steps:
| 1. | Turn off the power supply to the pressostat and make sure it is disconnected from any power sources. |
| 2. | Set your multimeter to the continuity testing mode. This mode generally has a sound or visual indicator that alerts you when there is continuity in the circuit. |
| 3. | Place one probe of the multimeter onto one terminal of the pressostat and the other probe onto the other terminal. |
| 4. | If the multimeter emits a sound or shows a visual indicator, it means that there is continuity in the circuit and the pressostat is functioning properly. |
| 5. | If there is no sound or visual indicator, it indicates there is a break in the circuit, and the pressostat needs to be replaced. |
By performing this continuity test, you can identify any issues with the electrical circuit and troubleshoot the pressostat accordingly. Remember, if you are unsure or not confident in performing this test, it is always best to seek professional assistance to avoid any potential hazards.
Step 5: Check for continuity under pressure

After confirming that the pressostat is functioning properly at atmospheric pressure, the next step is to check for continuity under pressure. This test will determine if the pressostat is able to maintain a closed circuit when subjected to the appropriate pressure.
1. Start by ensuring that the system is depressurized and disconnected from any power sources.
2. Connect a multimeter in continuity mode to the terminals of the pressostat.
3. Apply the necessary pressure to the system using a pressure source such as an air compressor. Make sure to follow the manufacturer’s guidelines for the specific pressure requirements.
4. Observe the multimeter reading. If the pressostat is functioning correctly, the multimeter should indicate continuity, which means the circuit is closed.
5. If the multimeter does not show continuity, it suggests that the pressostat is not able to maintain a closed circuit under pressure, indicating a potential malfunction.
6. To further troubleshoot the issue, it is advisable to inspect the pressostat for any visible indications of damage or wear. Additionally, referring to the manufacturer’s documentation or seeking professional assistance may be necessary.
7. Once the troubleshooting and necessary repairs or replacements are completed, repeat the continuity test to ensure that the pressostat is functioning properly under pressure.
Remember to always exercise caution when working with pressurized systems and follow proper safety procedures.
Step 6: Reconnect the pressostat and turn on the power
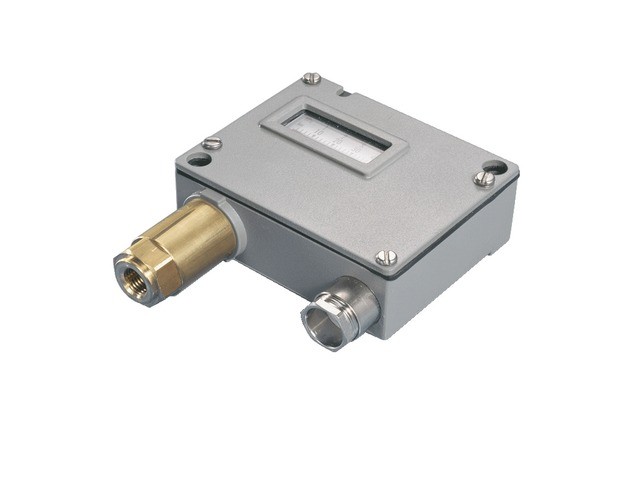
Once you have finished inspecting and cleaning the pressostat, it is time to reconnect it and turn on the power. Follow these steps:
- Locate the two wires that were disconnected from the pressostat during the testing process.
- Connect one wire to each terminal on the pressostat, ensuring that they are securely attached.
- If the pressostat has a pressure adjustment knob, set it to the desired pressure level according to the manufacturer’s specifications.
- Once the wires are connected and the pressure is adjusted, double-check all the connections to ensure they are tight and secure.
- Turn on the power to the system, either by plugging it in or flipping the circuit breaker switch.
- Observe the pressostat to see if it is functioning correctly. Listen for any abnormal sounds and monitor the pressure readings to ensure they are within the desired range.
- If the pressostat is not working properly, double-check your connections and settings, and repeat the previous steps if necessary.
Remember, it is important to exercise caution when working with electrical components. If you are unsure or uncomfortable with any step of this process, it is recommended to consult a professional technician.
Video on the topic
Furnace Pressure Switch Testing
How HVAC Refrigerant Pressure Switches Work & Troubleshooting!
How To Use A Multimeter for Home Repairs and Troubleshooting
How to Jump Pressure Switch on Furnace
Answers to frequently asked questions
Read more practical tips and expert opinions about modern devices at appliances-news.com. Here you will find answers to questions about any technology.


